3. Creating a page and adding general components
Intro
In this guide, we’ll go over adding general components to a page, such as a homepage or a landing page. It’s important to note that different pages may have different component options available. This is dependent on the specific page being considered.
There are several components that won’t be covered in this particular guide, they will be discussed in “Adding components to a Product page.” This includes:
Featured products Accordion Testimonials Comparison Grid Feature Grid Email Pop-up
Hero Referrals
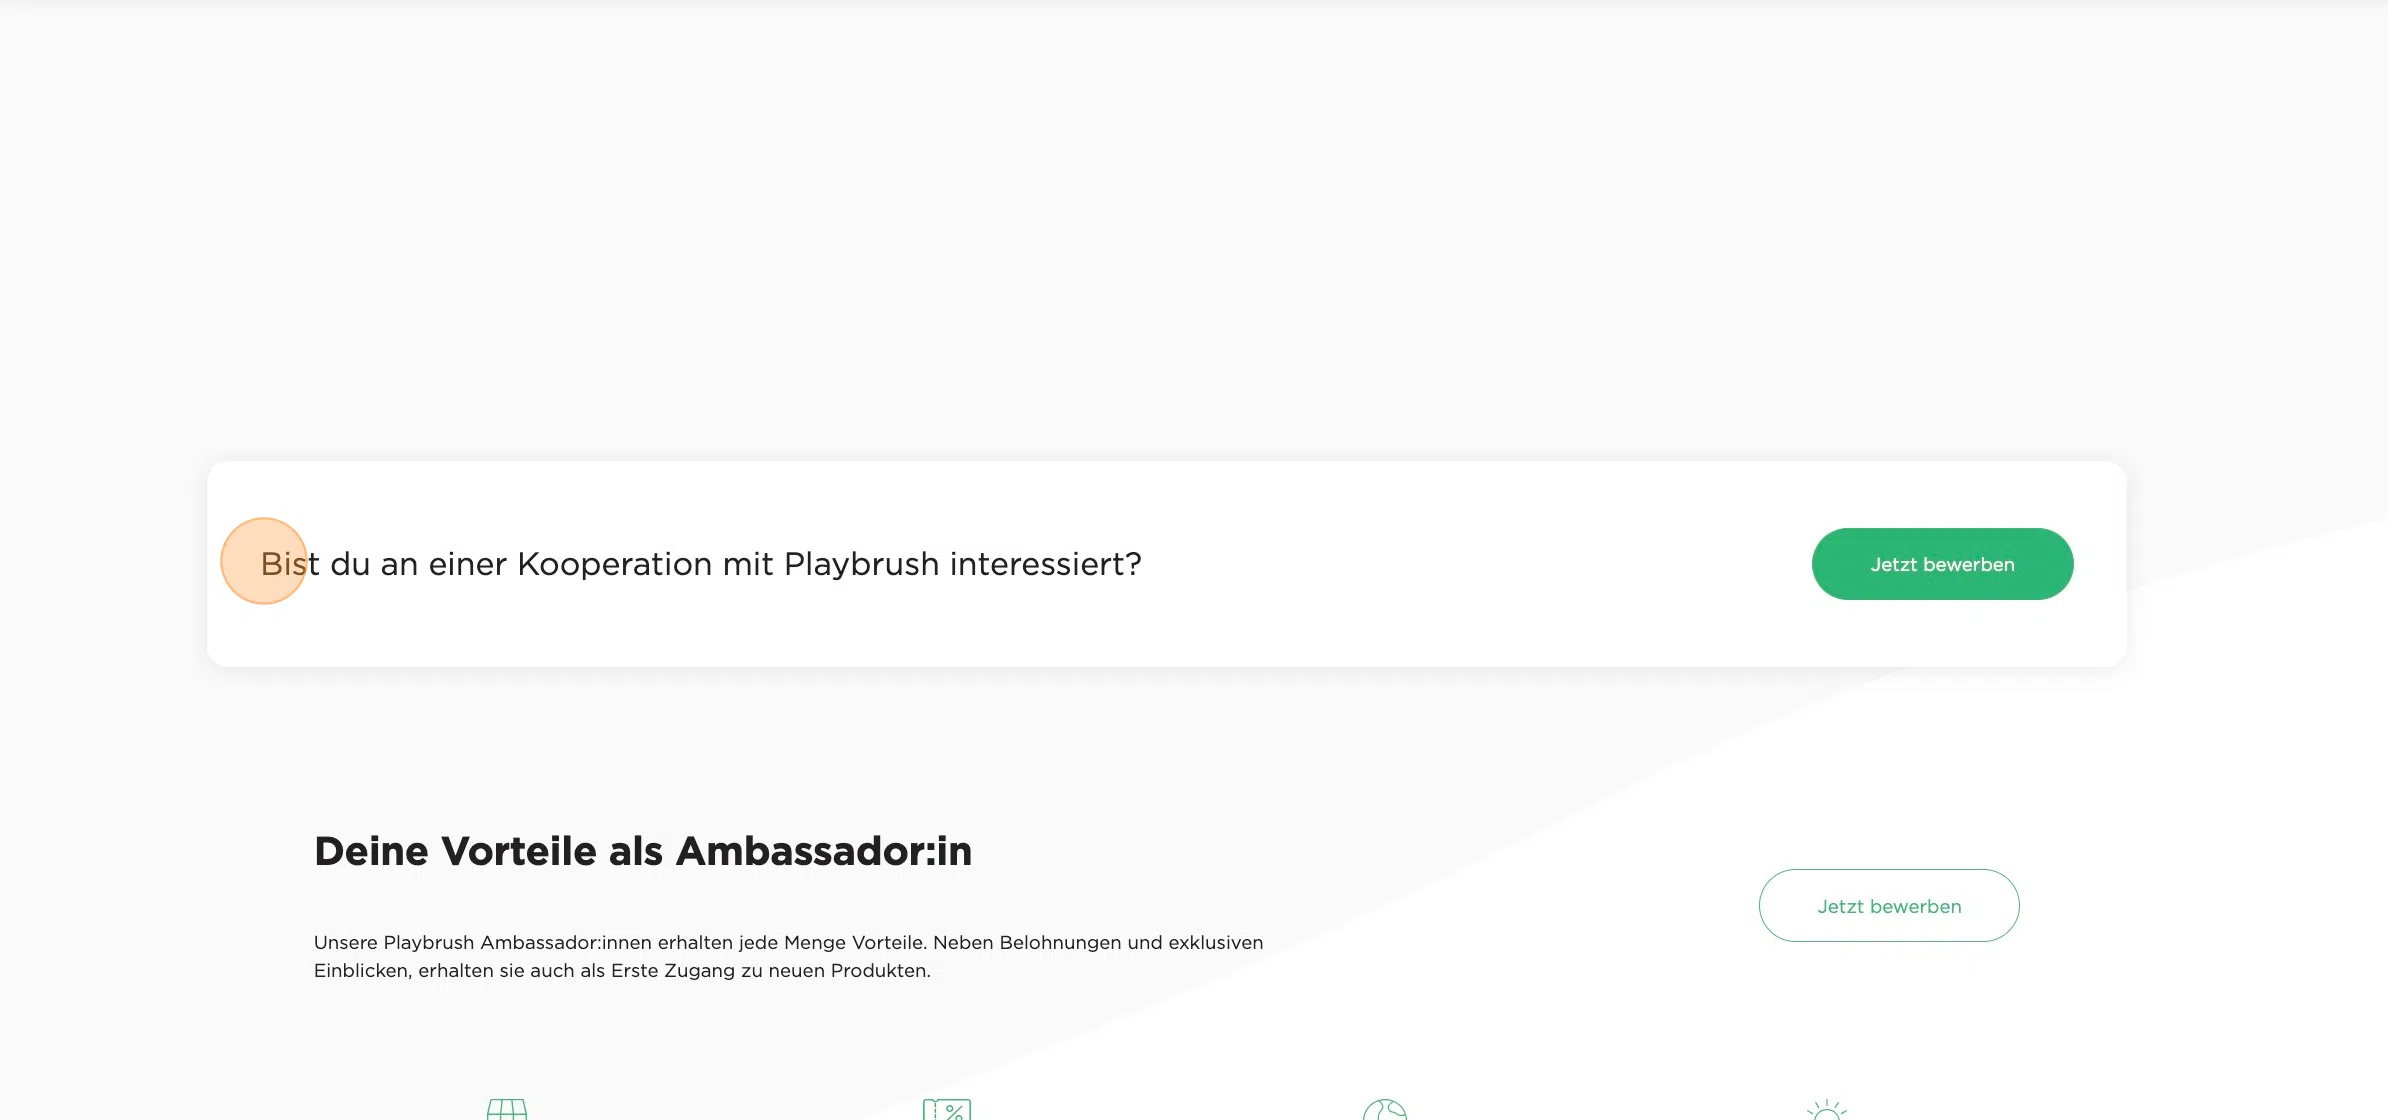
1. We’ll be adding a Hero Referrals component.

2. Click “Hero Referrals”

3. Click “heading” to add a title to your Hero Referrals

4. Click Icon text to add text to the icon that will be displayed on the bottom of the Hero Referrals.

5. Click “Add code button text” to add the text that will be displayed on the button on the bottom of the Hero Referrals.

Alert: Alert! nog aanpassen hieronder
6. Click “Button link” to add the link you want the button to redirect the user to.

7. Click this icon to add a media item.

8. Click the “Filter media elements” field to search for a specific media item or scroll through the media items.

9. Select the desired media item.

10. Or click “Upload media” to upload media from your own device.

11. Click “Alt text” to provide the image with an alternative text in case the image does not work.
12. Click this slider to add the Referral code to this step.

13. Click “List item” to add the text for this list item.

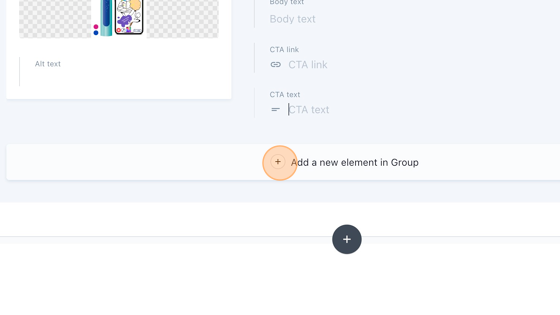
14. Click “Add a new element in Group” to add another list item. Retake steps 13 and 14.

15. Click, hold and drag this icon to change the order of the list item.

16. Click this garbage icon to remove the list item.

17. Click this garbage icon to remove the whole Hero Referrals.
Hero
18. We’ll be adding a Hero component to a page.

19. Click “Hero”

20. Click “Rolling text preline” to add a main heading of the page.

21. Click “Body text” to add a description to the Hero.
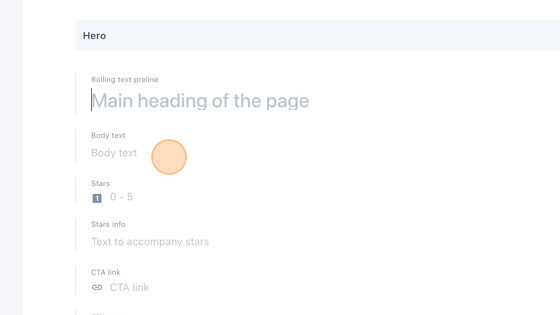
22. Click the “Stars” field to add an amount of stars between 0 and 5.

23. Click here to add more information on the stars. For instance “4,6 star rating”.

24. Click “CTA link” to add a button to redirect the user to another webpage, whether inside the Playbrush website, or outside.

25. Click “What kind of link do you want to insert?”
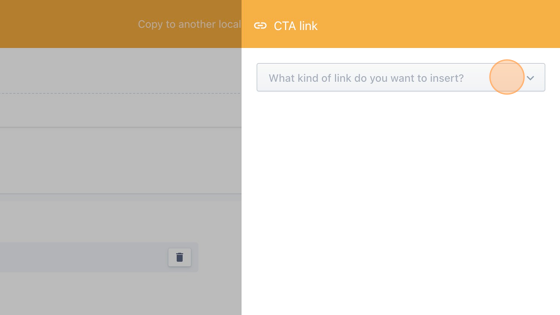
26. If you want to redirect the user to a link outside the Playbrush website, click “Link to the Web…“. If you want to redirect the user to a Media item, click “Link to a Media item”. If you want to redirect the user to a document click “Link to a Document…”

27. Click the ”…” field to filter the results based on their type.

28. Click the “Search…” field to search for a specific document, or scroll manually through the list and select the desired document.

29. Click the “CTA text” field to provide the button with informative text about where they’ll be redirected to when they click on it.

30. Click here to provide the hero with a background image.

31. Click the “Filter media elements” field to search for a specific media item, or scroll through the results manually.

32. Click on your desired media item.

33. In case you want to upload a media item from your own device, click on the button “upload media”.

34. Click “Alt text” to provide the media item with a text in case the media item stops working.

35. Click this dropdown to change the position of the background image.

36. When this component is being viewed on a mobile device instead on a webpage, the media item uploaded can become too big. Instead you can select a media type for mobile devices. To do that, click here. Retake steps 15 until 19.

37. Click here to add rolling text, that is only displayed on the kids website.

38. You can add more rolling texts by clicking “Add a new element in Group”.

39. Click, hold and drag this icon to change the order of the rolling texts.

40. Click this garbage icon to remove a rolling text.
Icon Grid
41. We’ll be adding an Icon Grid.
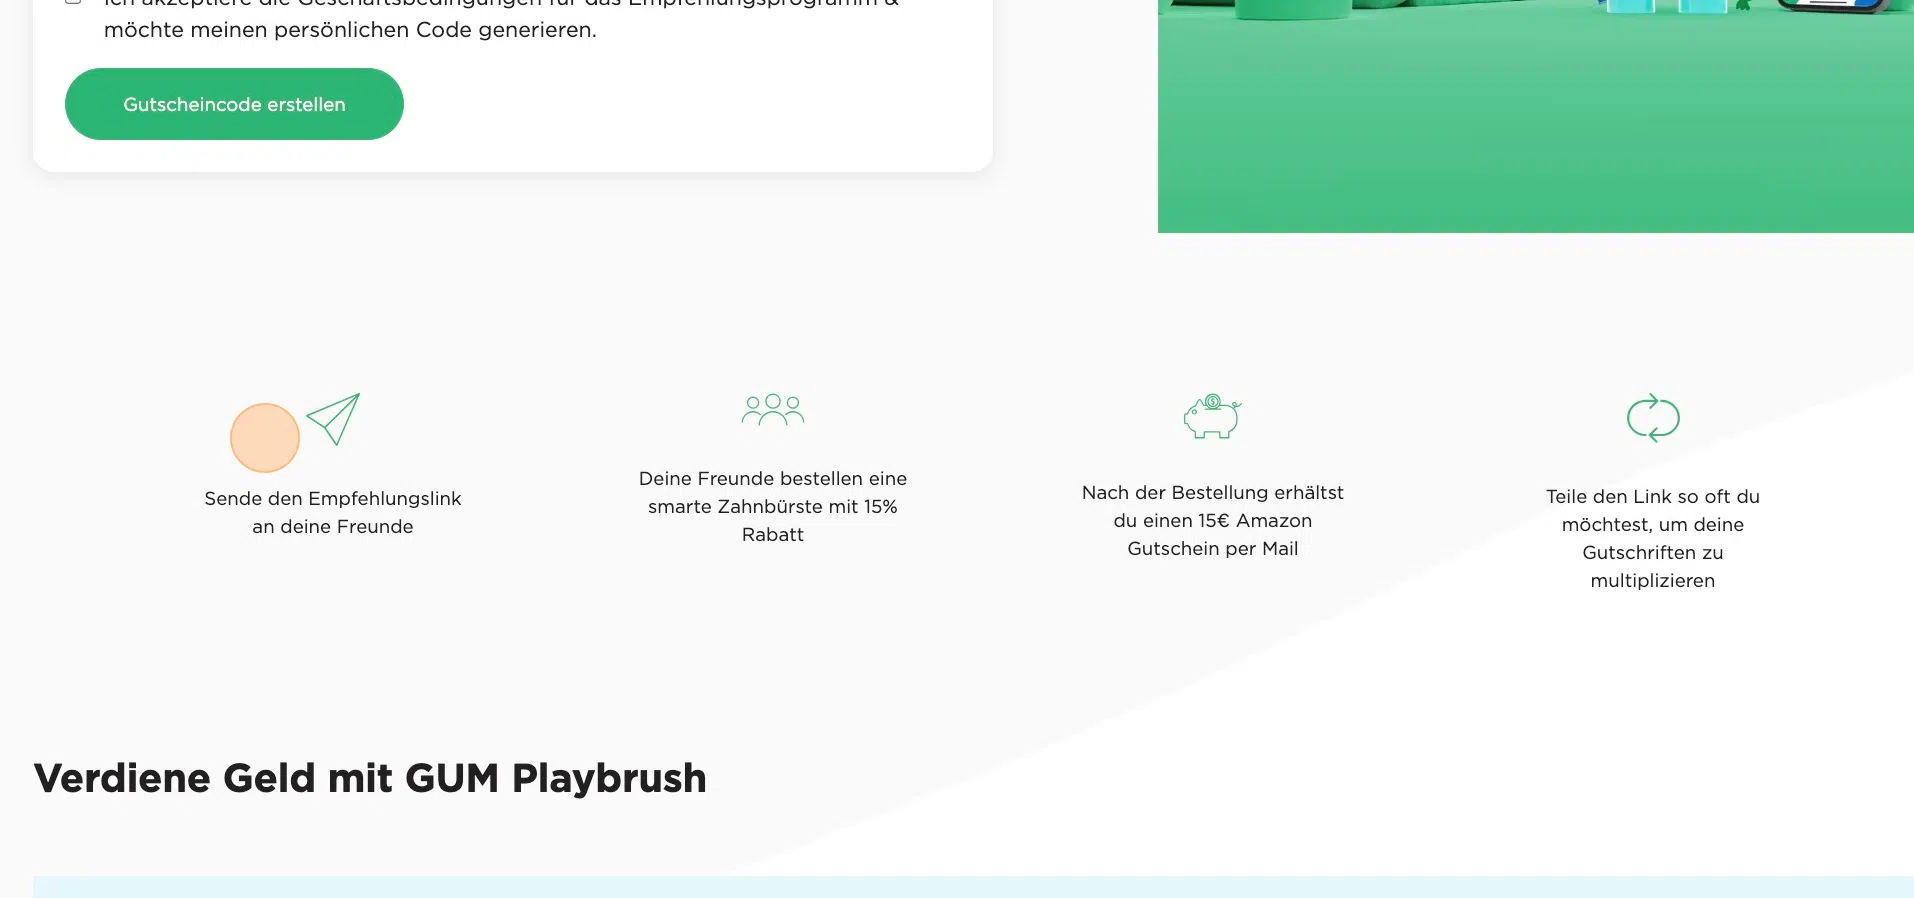
42. Click “icon grid”

43. Click “Heading” if you want to give the icon grid a title.

44. Click “Description” if you want to give the icon grid a description.

45. Click “Select a link” if you want to add a button to redirect the user to.

46. Click “What kind of link do you want to insert?“.

47. If you want to redirect the user to a url, click “Link to the Web…“. If you want to redirect the user to a media item, click “Link to a Media item…“. Click “Link to a Document…” if you want to redirect the user to a document/component.

48. Click the “Search…” field to search for a specific document or scroll down manually to find the desired document.

49. Click the Type field if you want to filter the results based on their type.

50. Click “Button text” to provide the button with text. It should give the user information on where it will be redirected to.

51. Click this dropdown to select an icon from the list.

52. Click “Icon title” to give the icon a title.

53. Click “Add a new element in Group” to add another icon to the grid and retake steps 36 and 37.

54. Click, hold and drag this icon to change the order of the icons.

55. Click on the garbage icon to remove the icon.

56. Click on this garbage icon to remove the whole icon grid.

Horizontal Scroll
57. We’ll be adding a horizontal scroll.
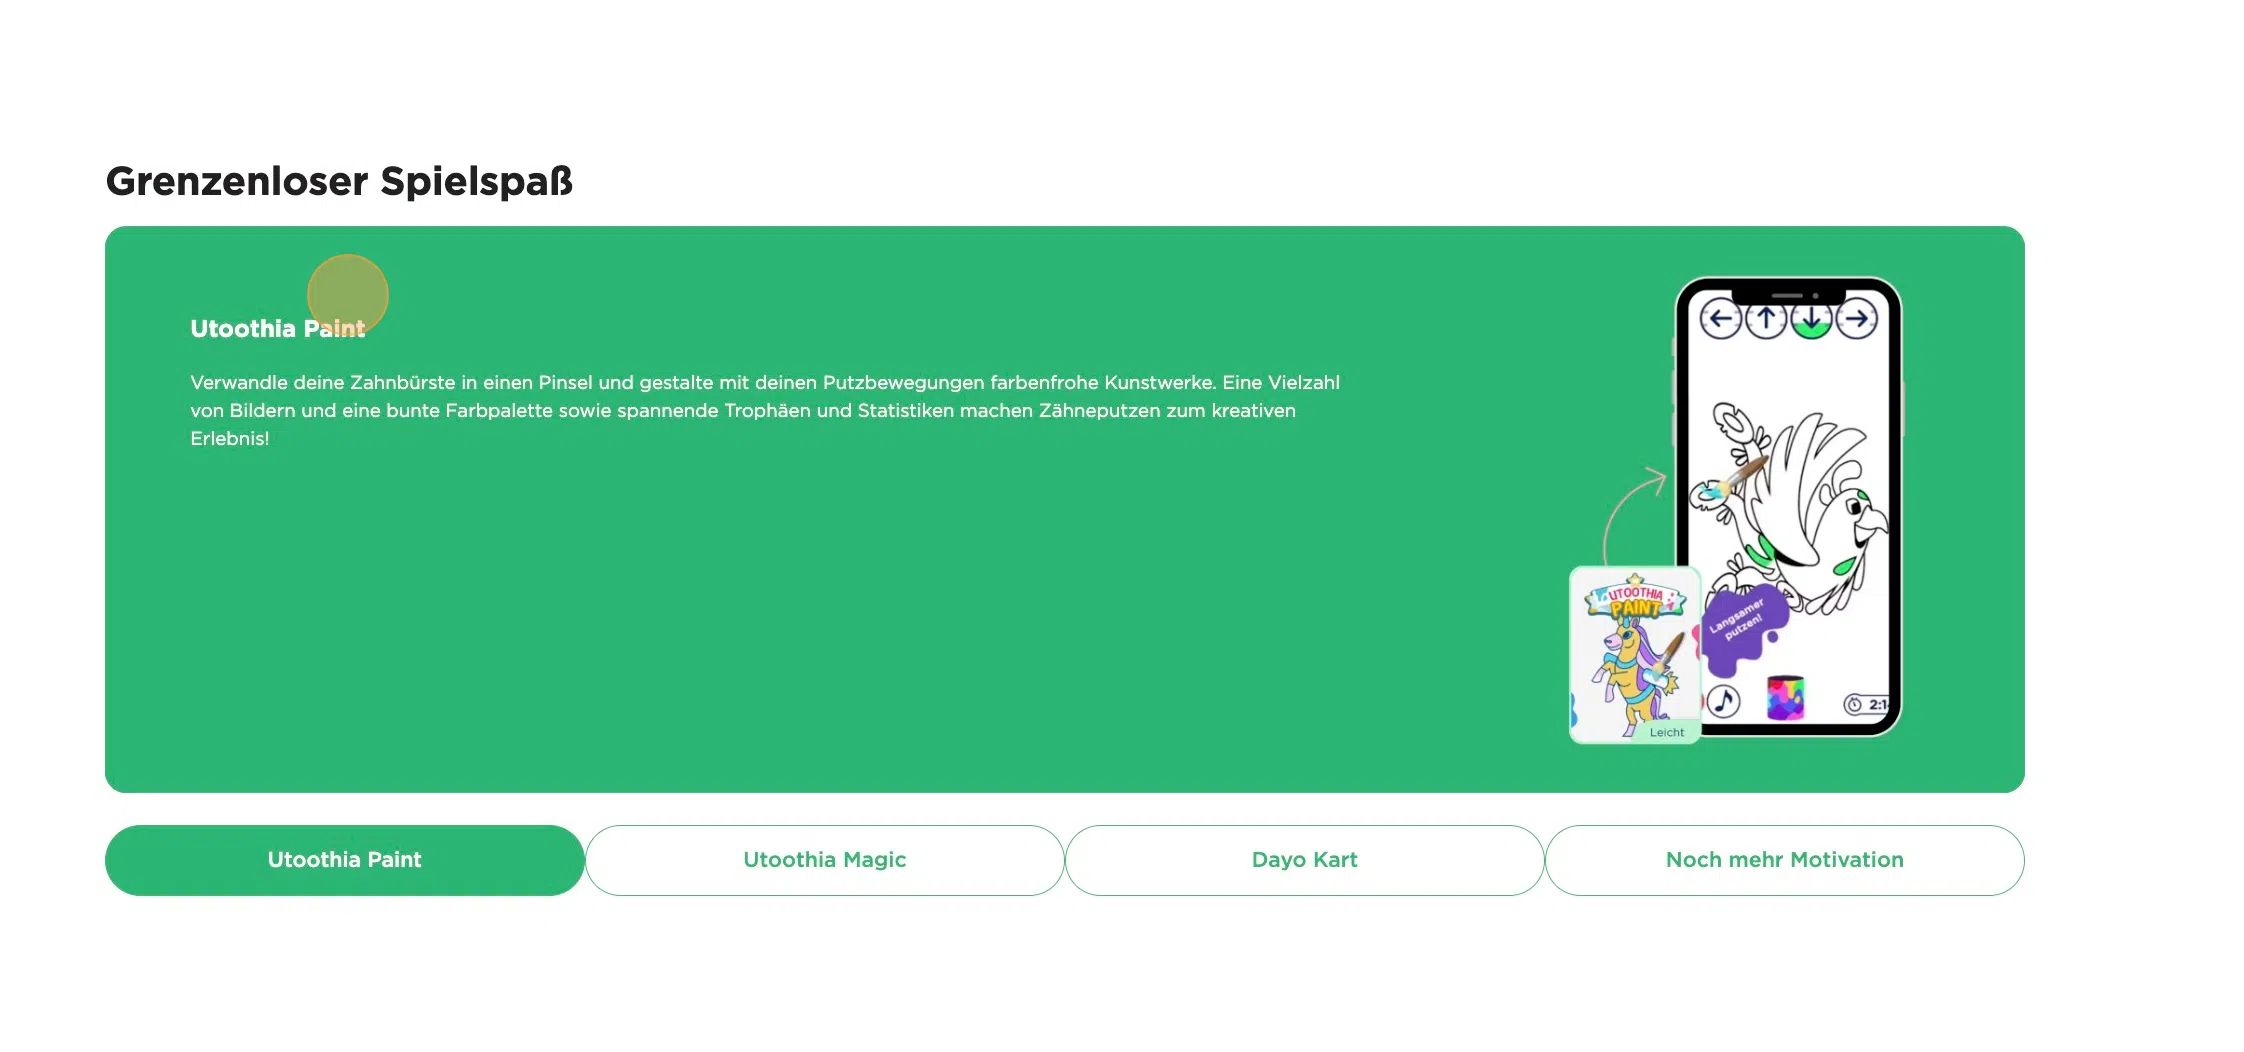
58. Click “Horizontal Scroll”

59. Click “Heading” to give a title to the horizontal scroll.

60. Click here to add an image to the horizontal scroll item.

61. Click the “Filter media elements” field to search for a specific media item or manually scroll through the results.

62. Select your desired media item.

63. Or click “Upload media” to upload a media item from your device.

64. Click “Background color” and select a color to add a background color.

65. Click “heading” to give a title to your horizontal scroll item.

66. Click “body text” to give a description to your horizontal scroll item.

67. Click “CTA link” to add a button with which a user can be redirected to another Url.

68. Click “What kind of link do you want to insert?”

69. If you want to redirect the user to a url, click “Link to the Web…“. If you want to redirect the user to a media item, click “Link to a Media item…“. Click “Link to a Document…” if you want to redirect the user to a document/component.

70. Click the “Search…” field to search for a specific document or scroll through the results manually to find the desired document.

71. You can also click the type field to filter the results based on their type.

72. Click the “CTA text” field to provide the button with an informative text on where the button will redirect the user to.

73. Click “Add a new element in Group” to add another horizontal scroll item. Retake steps 45 until 57.
74. Click, drag and hold this icon to change the order of the horizontal scroll items.

75. Click the garbage icon to remove the horizontal scroll item.

76. Click this garbage icon to remove the whole horizontal scroll.

Press Slider
77. We’ll be adding a Press Slider.
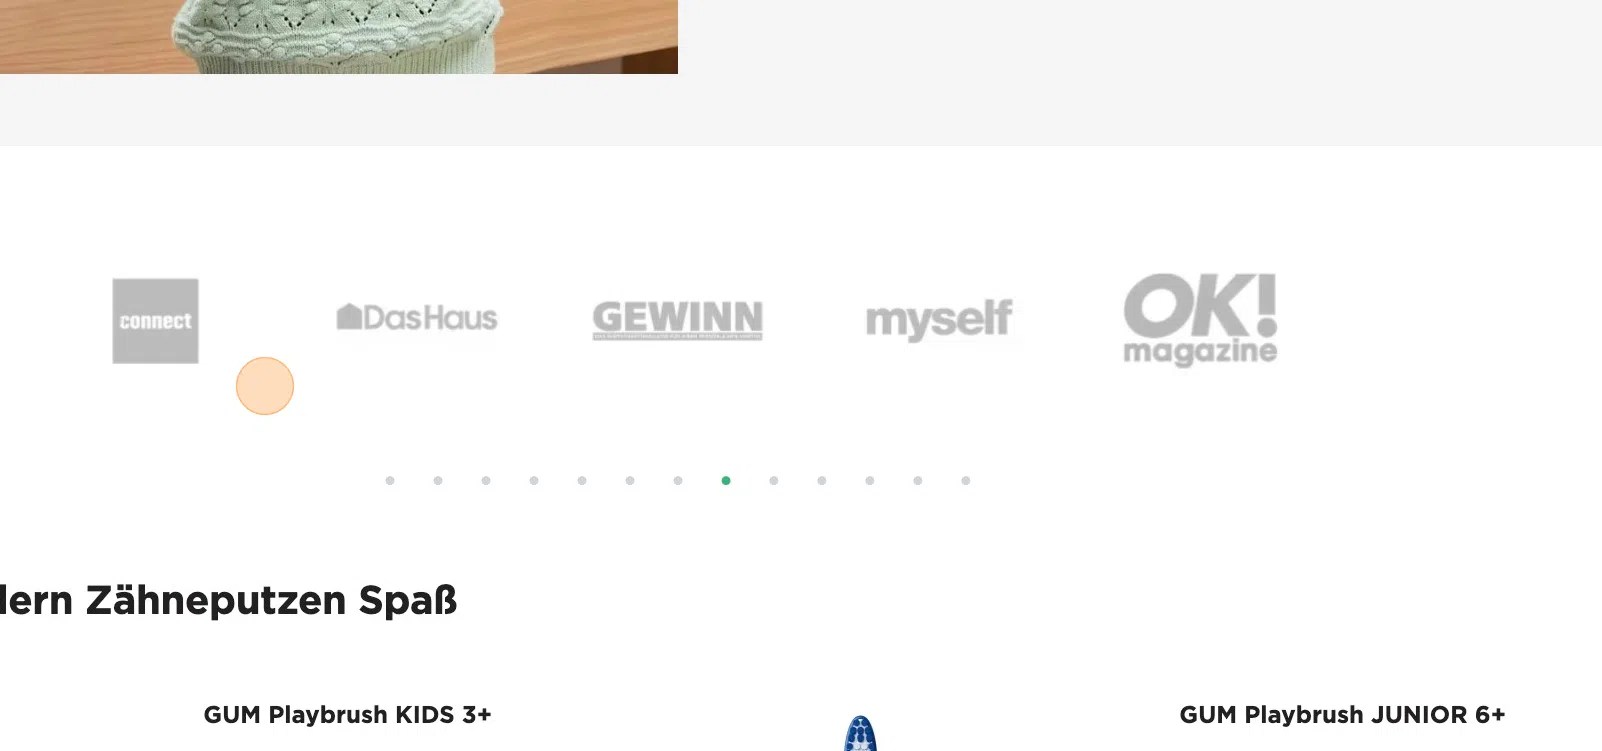
78. Click “Press Slider”

79. Click “Heading” to add a title to the press slider. Don’t use this on a homepage.

80. Click this icon to add an image.

81. Click the “Filter media elements” field to search for a specific media item or scroll down manually for a media item.

82. Select the desired media item.

83. Or click “Upload media” to upload media from your own device.

84. Click the “Alt text” field to provide the image with an alternative text in case the media item does not work.

85. Click on this slider to set the press slider item to an image or a rating.

86. If it concerns a rating, fill in the amount of stars, on a scale between 0 and 5.

87. Provide the rating with informative text.

88. Click “Choose a link” to provide the image with a link, so that when the user clicks on the image, it will be redirected to the website of the company.

89. Click “What kind of link do you want to insert?”

90. Click “Link to the Web…”

91. Click the “https://” field to enter the url you want the user to be redirected to.

92. Click “Link to this page”

93. Click this icon to add another element to the press slider. Retake steps 65 until 77.

94. Click, hold and drag this icon to change the order of the press slider elements.

95. Click this garbage icon to remove the press slider element.
96. Click this garbage icon to remove the whole press slider.

Distributors List
97. We’ll be adding a Distributors List
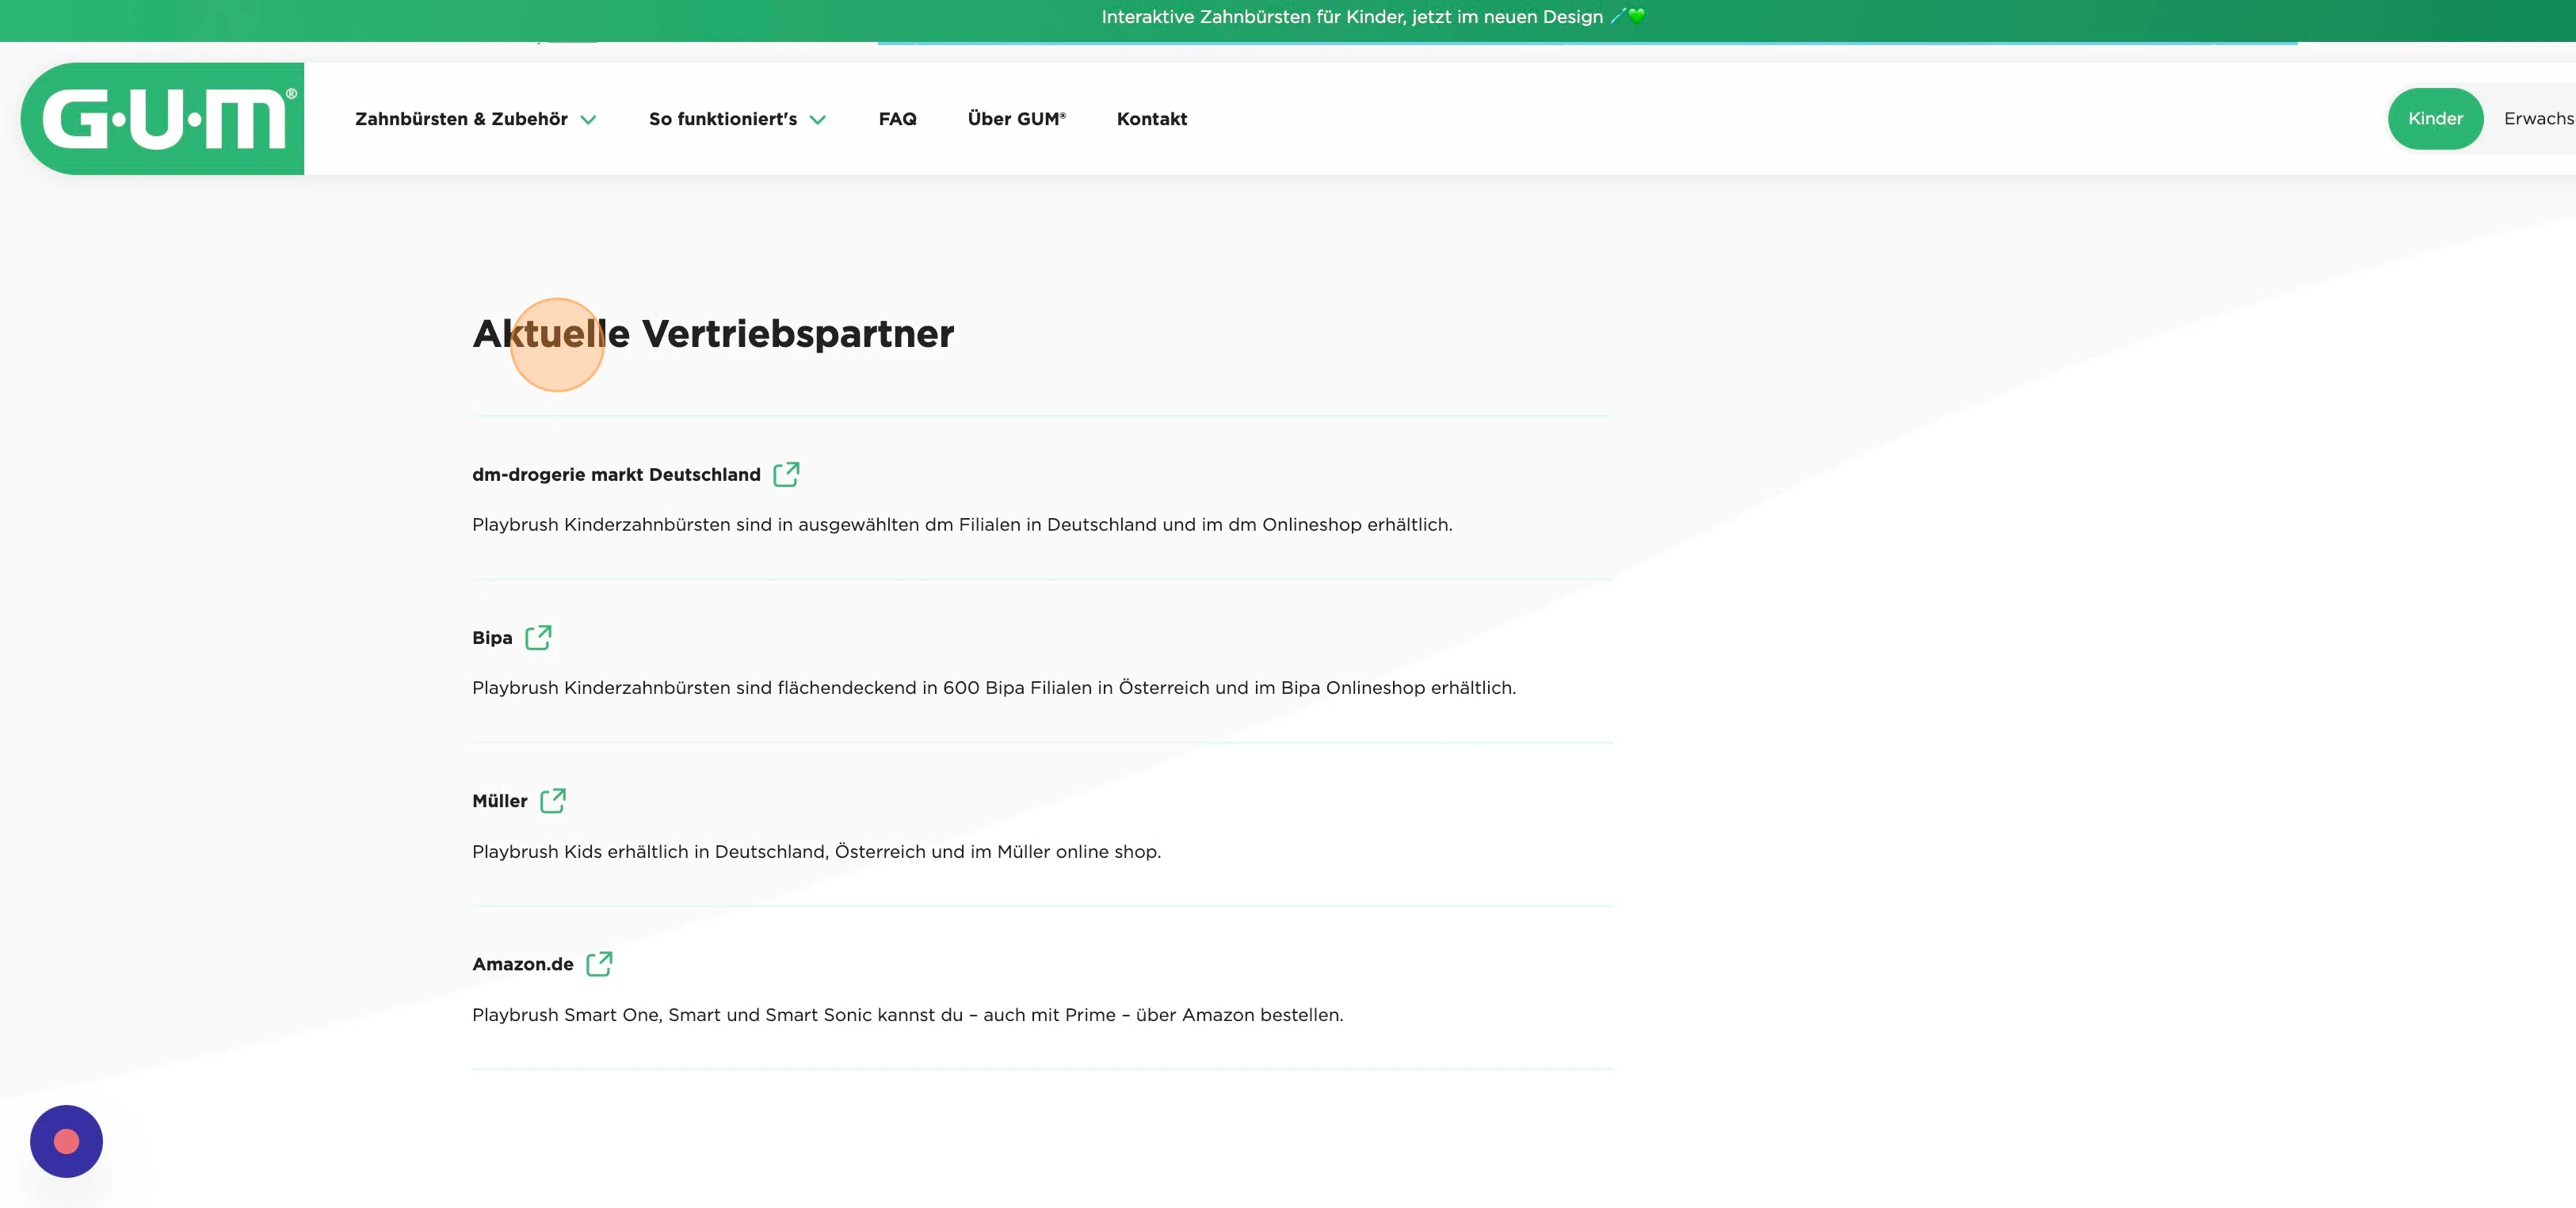
98. Click “Distributors list”

99. Click “Heading” to add a title to your Distributors List.

100. Click “Link title” to add the name of a distributor.

101. Click “Link description” to add a description to the distributor.

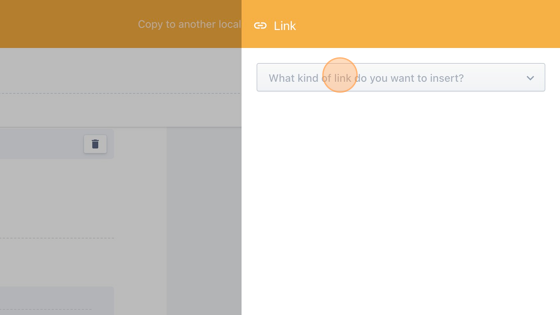
102. Click “Link” to add a link to the website of the distributor.

103. Click “What kind of link do you want to insert?”
104. Click “Link to the Web…”

105. Click the “https://” field and type in the url of the website of the distributor.

106. Click “Link to this page”

107. Click “Add a new element in Group” to add another distributor to the list.

108. Click, hold and drag the contributor to change its position in the list.

109. Click the garbage icon to remove the distributor from the list.

110. Click this garbage icon to remove the whole distributor list.

Text and Video
111. We’ll be adding a Text with video.
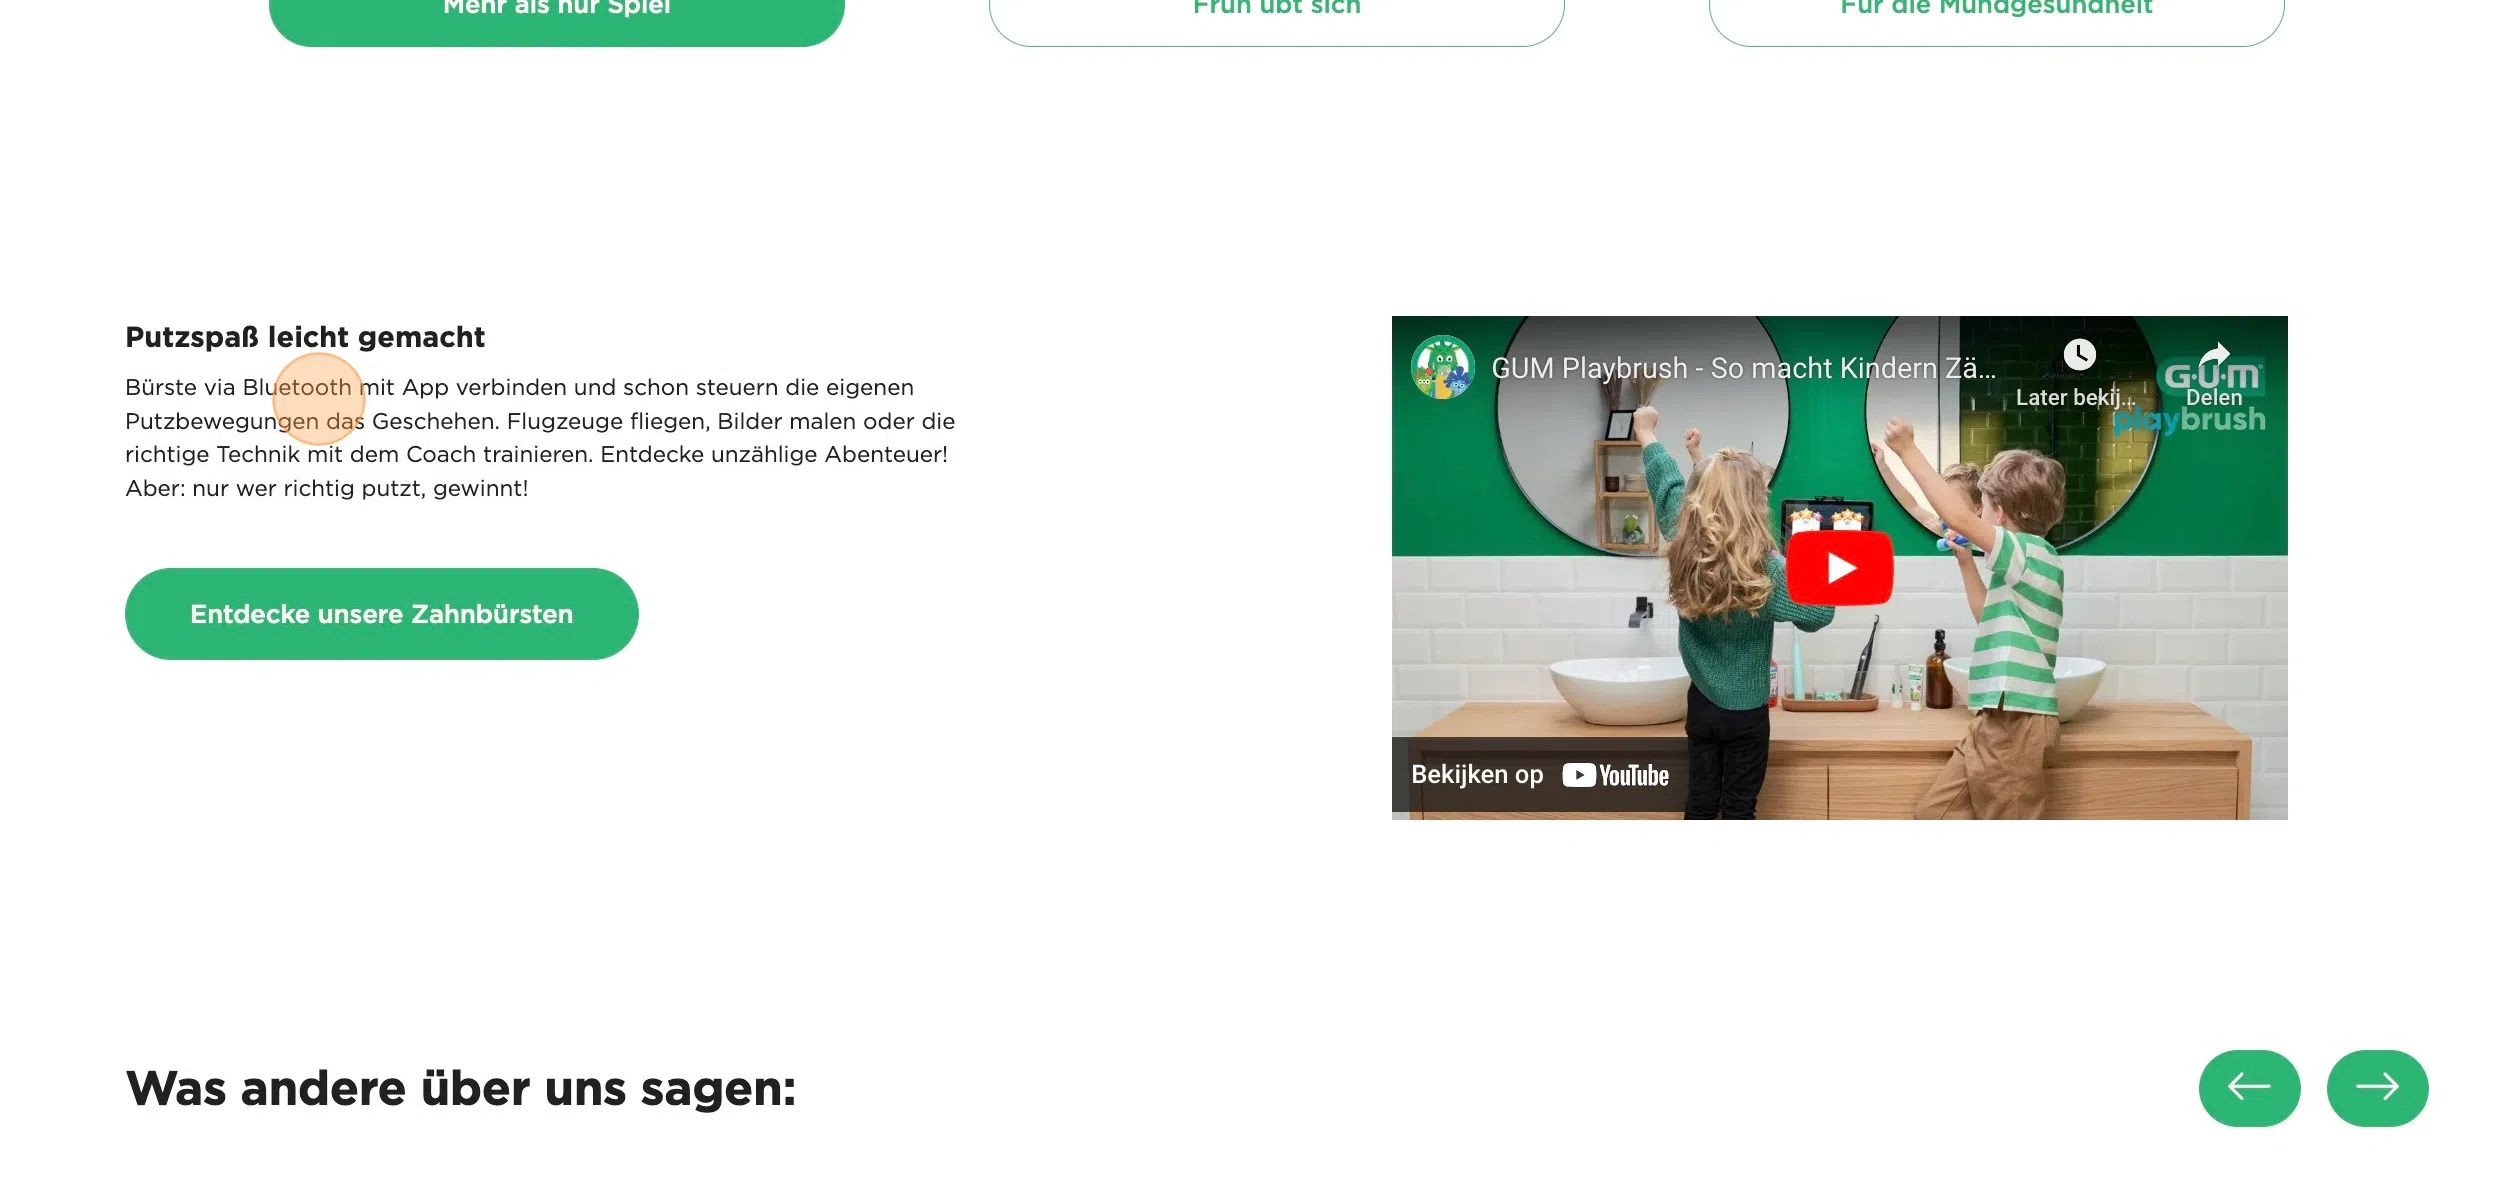
112. Click “Text | Video”

113. Click this slider to set the video position to left or right.
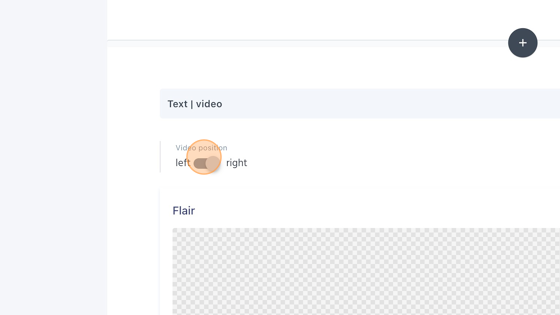
114. Click this icon to add a Flair image.

115. Select a media item.

116. Click “Heading” to add a title to the element.

117. Click “Video” to add the video to the element.

118. The Type is already set to Video, which we can keep like that.

119. Select the desired video from the results.

120. Click “Body text” to fill in the descriptive text.

121. Click “CTA link” to add a button to the element.

122. Click “What kind of link do you want to insert?”

123. If you want to redirect the user to a url, click “Link to the Web…“. If you want to redirect the user to a media item, click “Link to a Media item…“. Click “Link to a Document…” if you want to redirect the user to a document/component.

124. Click the “Search…” field to search for a specific document. Or scroll down manually through the results.

125. Click the “type” field if you want to filter the results based on their type.

126. Click the desired document.

127. Click the “CTA text” field to provide the button with informative text to where the user will be redirected to.

128. Click this garbage icon to remove the Text | Video element.

CTA Teaser Image
129. We’ll be adding a CTA Teaser Image
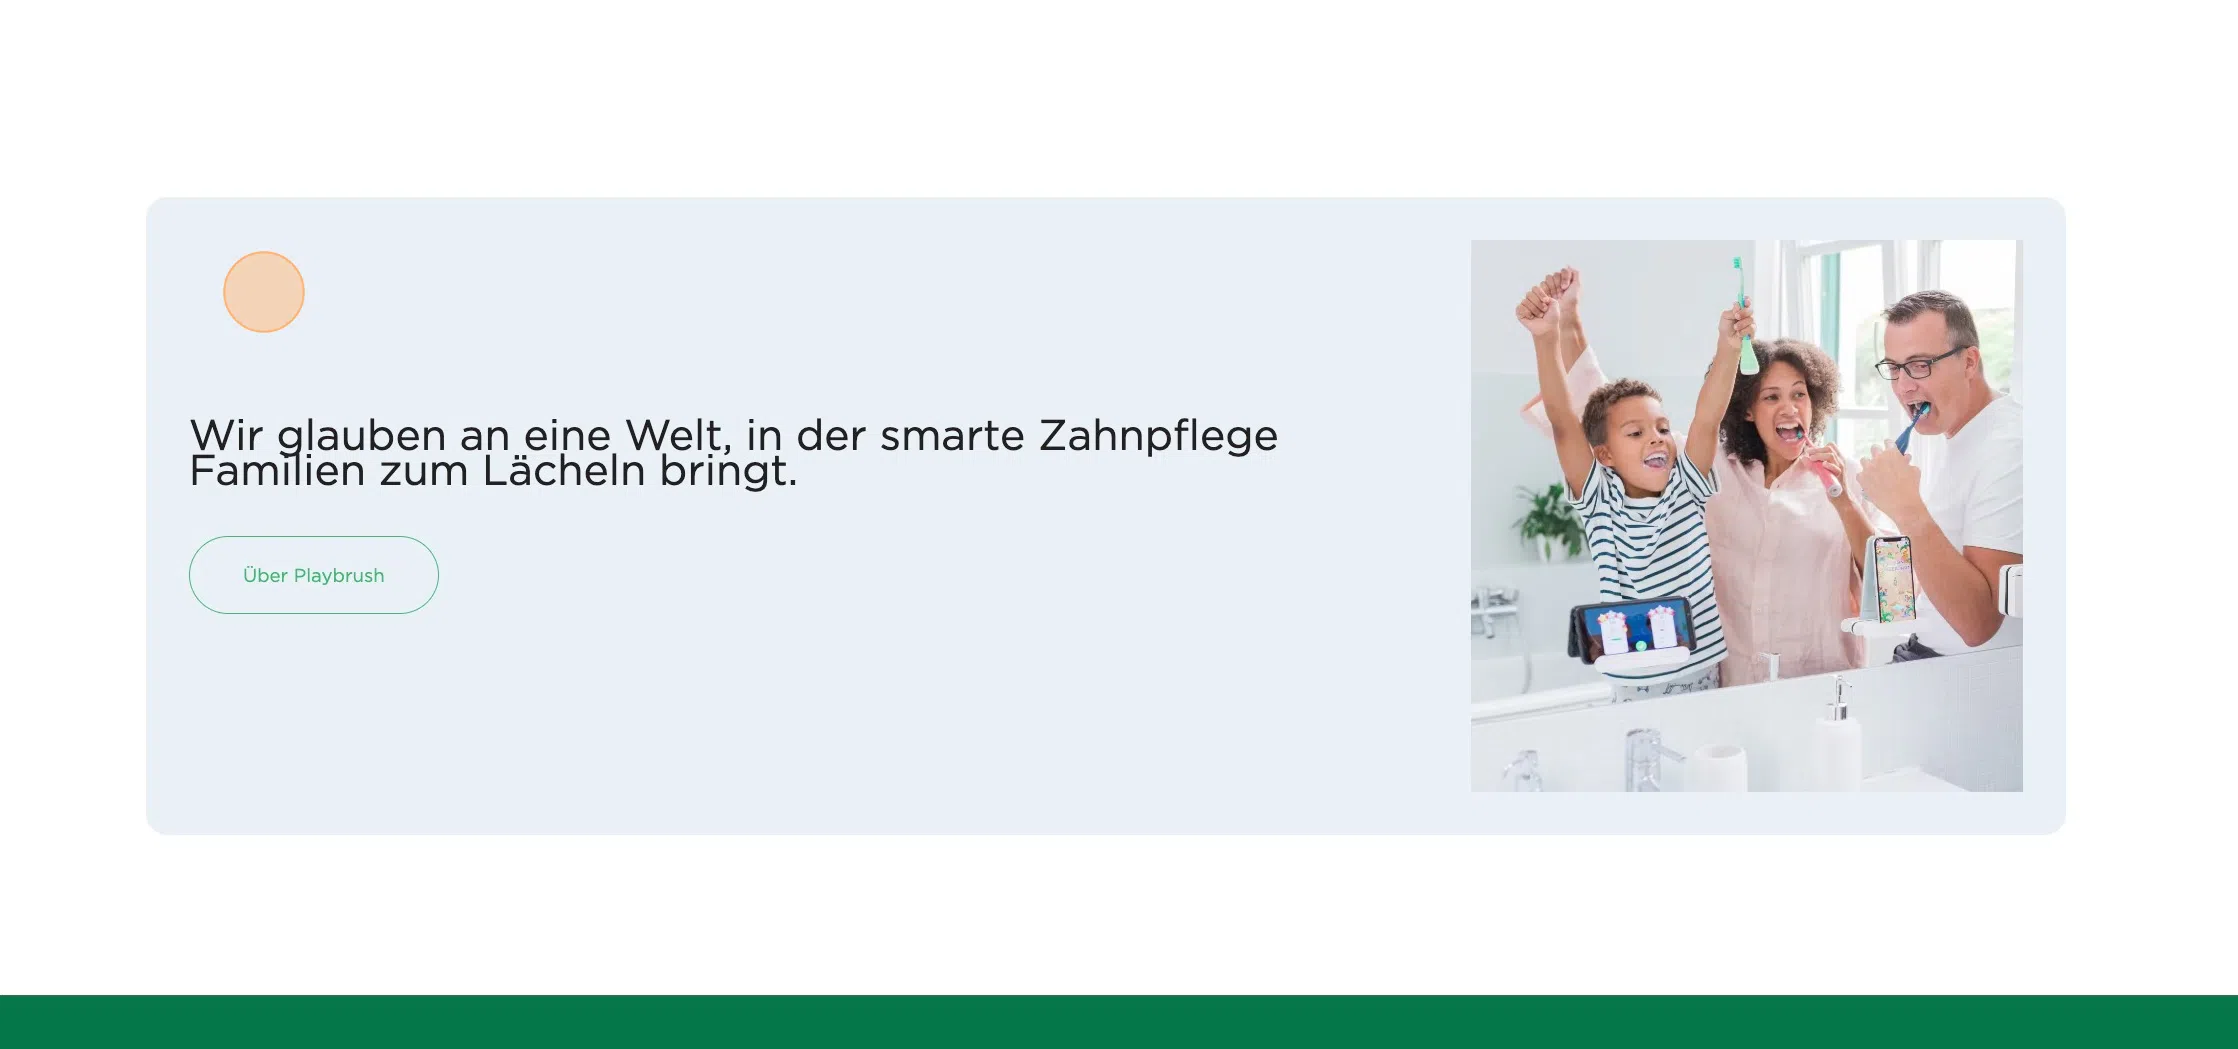
130. Click “CTA teaser image”

131. Click “CTA title” to add a title to the CTA teaser image.

132. Click here to add a media item.

133. Click the “Filter media elements” field to search for a specific media item or scroll manually through the media items.
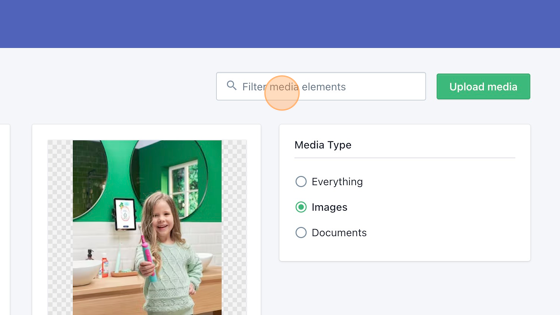
134. Click on the desired media item.

135. Or click “Upload media” to upload media from your own device.

136. Click the “Alt text” field to provide the image with alternative informative text in case the media item does not work.

137. Click “Button link” to add a button.

138. Click “What kind of link do you want to insert?”

139. If you want to redirect the user to a url, click “Link to the Web…“. If you want to redirect the user to a media item, click “Link to a Media item…“. Click “Link to a Document…” if you want to redirect the user to a document/component.

140. Click the “Search…” field to search for a specific document.

141. Click the type field to filter the results based on their type.

142. Click “Button text” to provide the button with informative text to where the user will be redirected to.

CTA Teaser
143. We’ll be adding a CTA Teaser.
144. Click “CTA Teaser”

145. Click “CTA title” to give your CTA teaser a title.

146. Click “Button link” to add a button to the CTA teaser to redirect the user to another URL.

147. Click “What kind of link do you want to insert?”

148. If you want to redirect the user to a url, click “Link to the Web…“. If you want to redirect the user to a media item, click “Link to a Media item…“. Click “Link to a Document…” if you want to redirect the user to a document/component.

149. Click the “Search…” field to search for a specific document or scroll through the results to search for your desired document and select it.

150. Click the type field to filter the results based on their type.

151. Select the desired document.

152. Click “Button text” to provide the button with informative text to where the user will be redirected to.

153. Click on the garbage icon to remove the CTA teaser.

SEO
154. For every page it is required to fill in SEO details. In the following steps we’ll show you how to do that.
155. Click “SEO”

156. Click the “URL path” field and enter the desired url path. You only have to fill in what comes after ”https://www.playbrush.com/en-gb/kids/”. It doesn’t take spaces, so instead you will have to use hyphens.
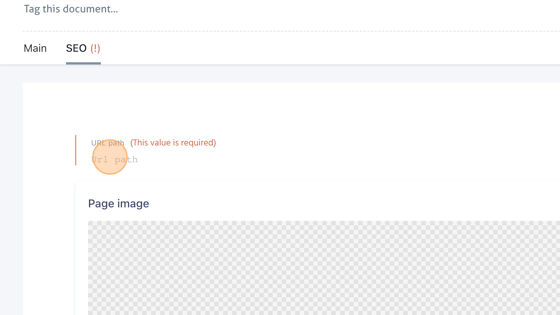
157. An example could be: “gum-playbrush-junior”
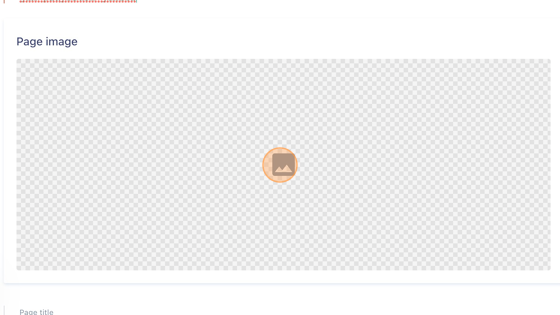
158. Click here to add an image for the page.
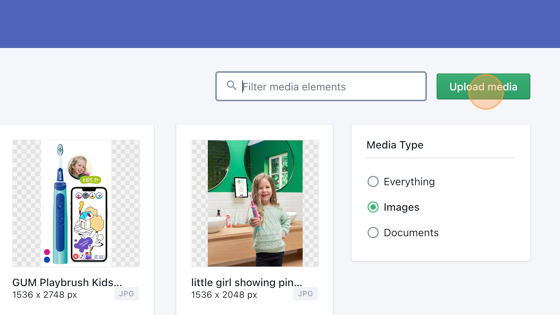
159. Click the “Filter media elements” field to search for a specific media item or manually scroll down the media items.

160. Click the desired Media item.

161. Click on “Upload media” if you want to add media from your own device.
162. Click the “Alt text” field to enter an alternative text in case the media doesn’t work.

163. Click the “Page title” field to fill in the title of the page.

164. Click the “Page description” field to fill in the description of the page.
