4. Creating a product page and adding general components
Intro
In this guide we’ll be creating a product page with all the possible elements to add.
1. Click on the pencil to add a new component

2. Type in “Product Page” or scroll down manually to find it in the list.
3. Click “Product page”

4. You’ve now created a product page in which you can add all the desired components. For every page it is required to fill in SEO details. Please see guide 3. j. for more information.
Product
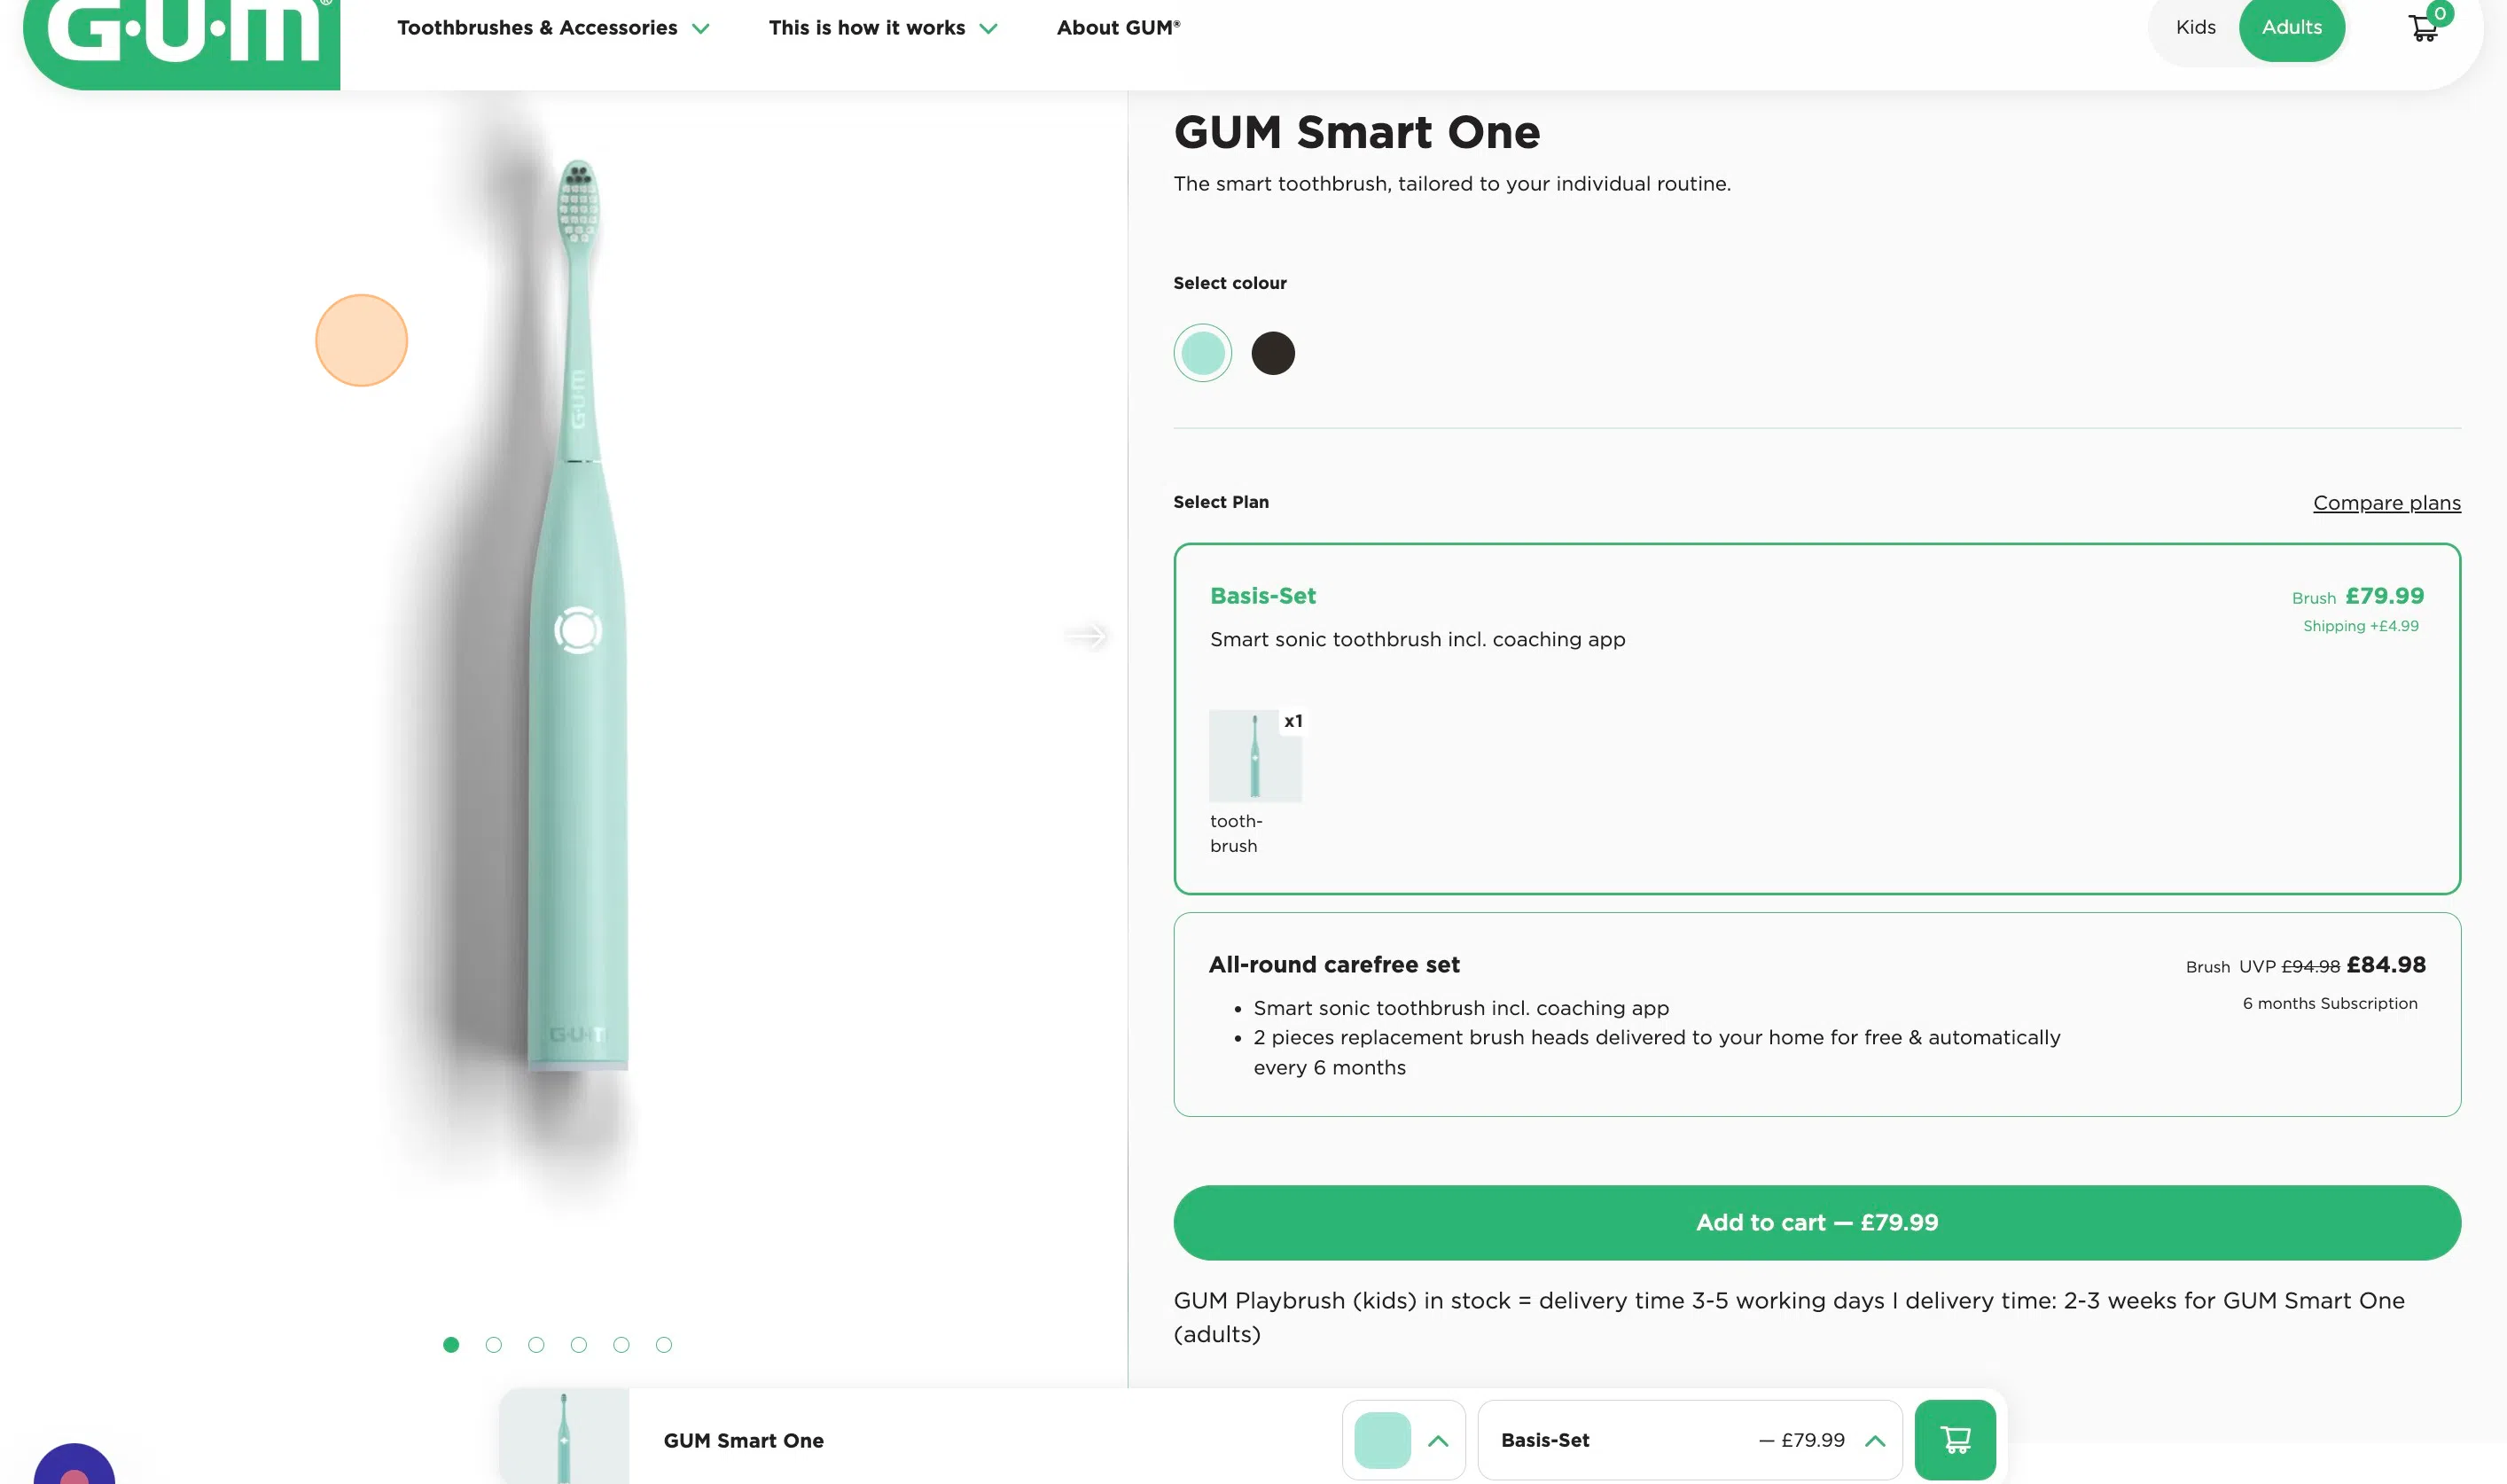
**5. Since this page can have a lot of features, we’ll divide it per custom type. We’ll start with the product itself.
To see how you can add a Product to the database, please see the Product guide.**
6. Click “Prismic product”

7. We will want to search for documents with type “Product” so we leave this type here.

8. You can type for the desired product or scroll down to find it manually.

**9. Click on the product you want to add. **

Comparison Grid
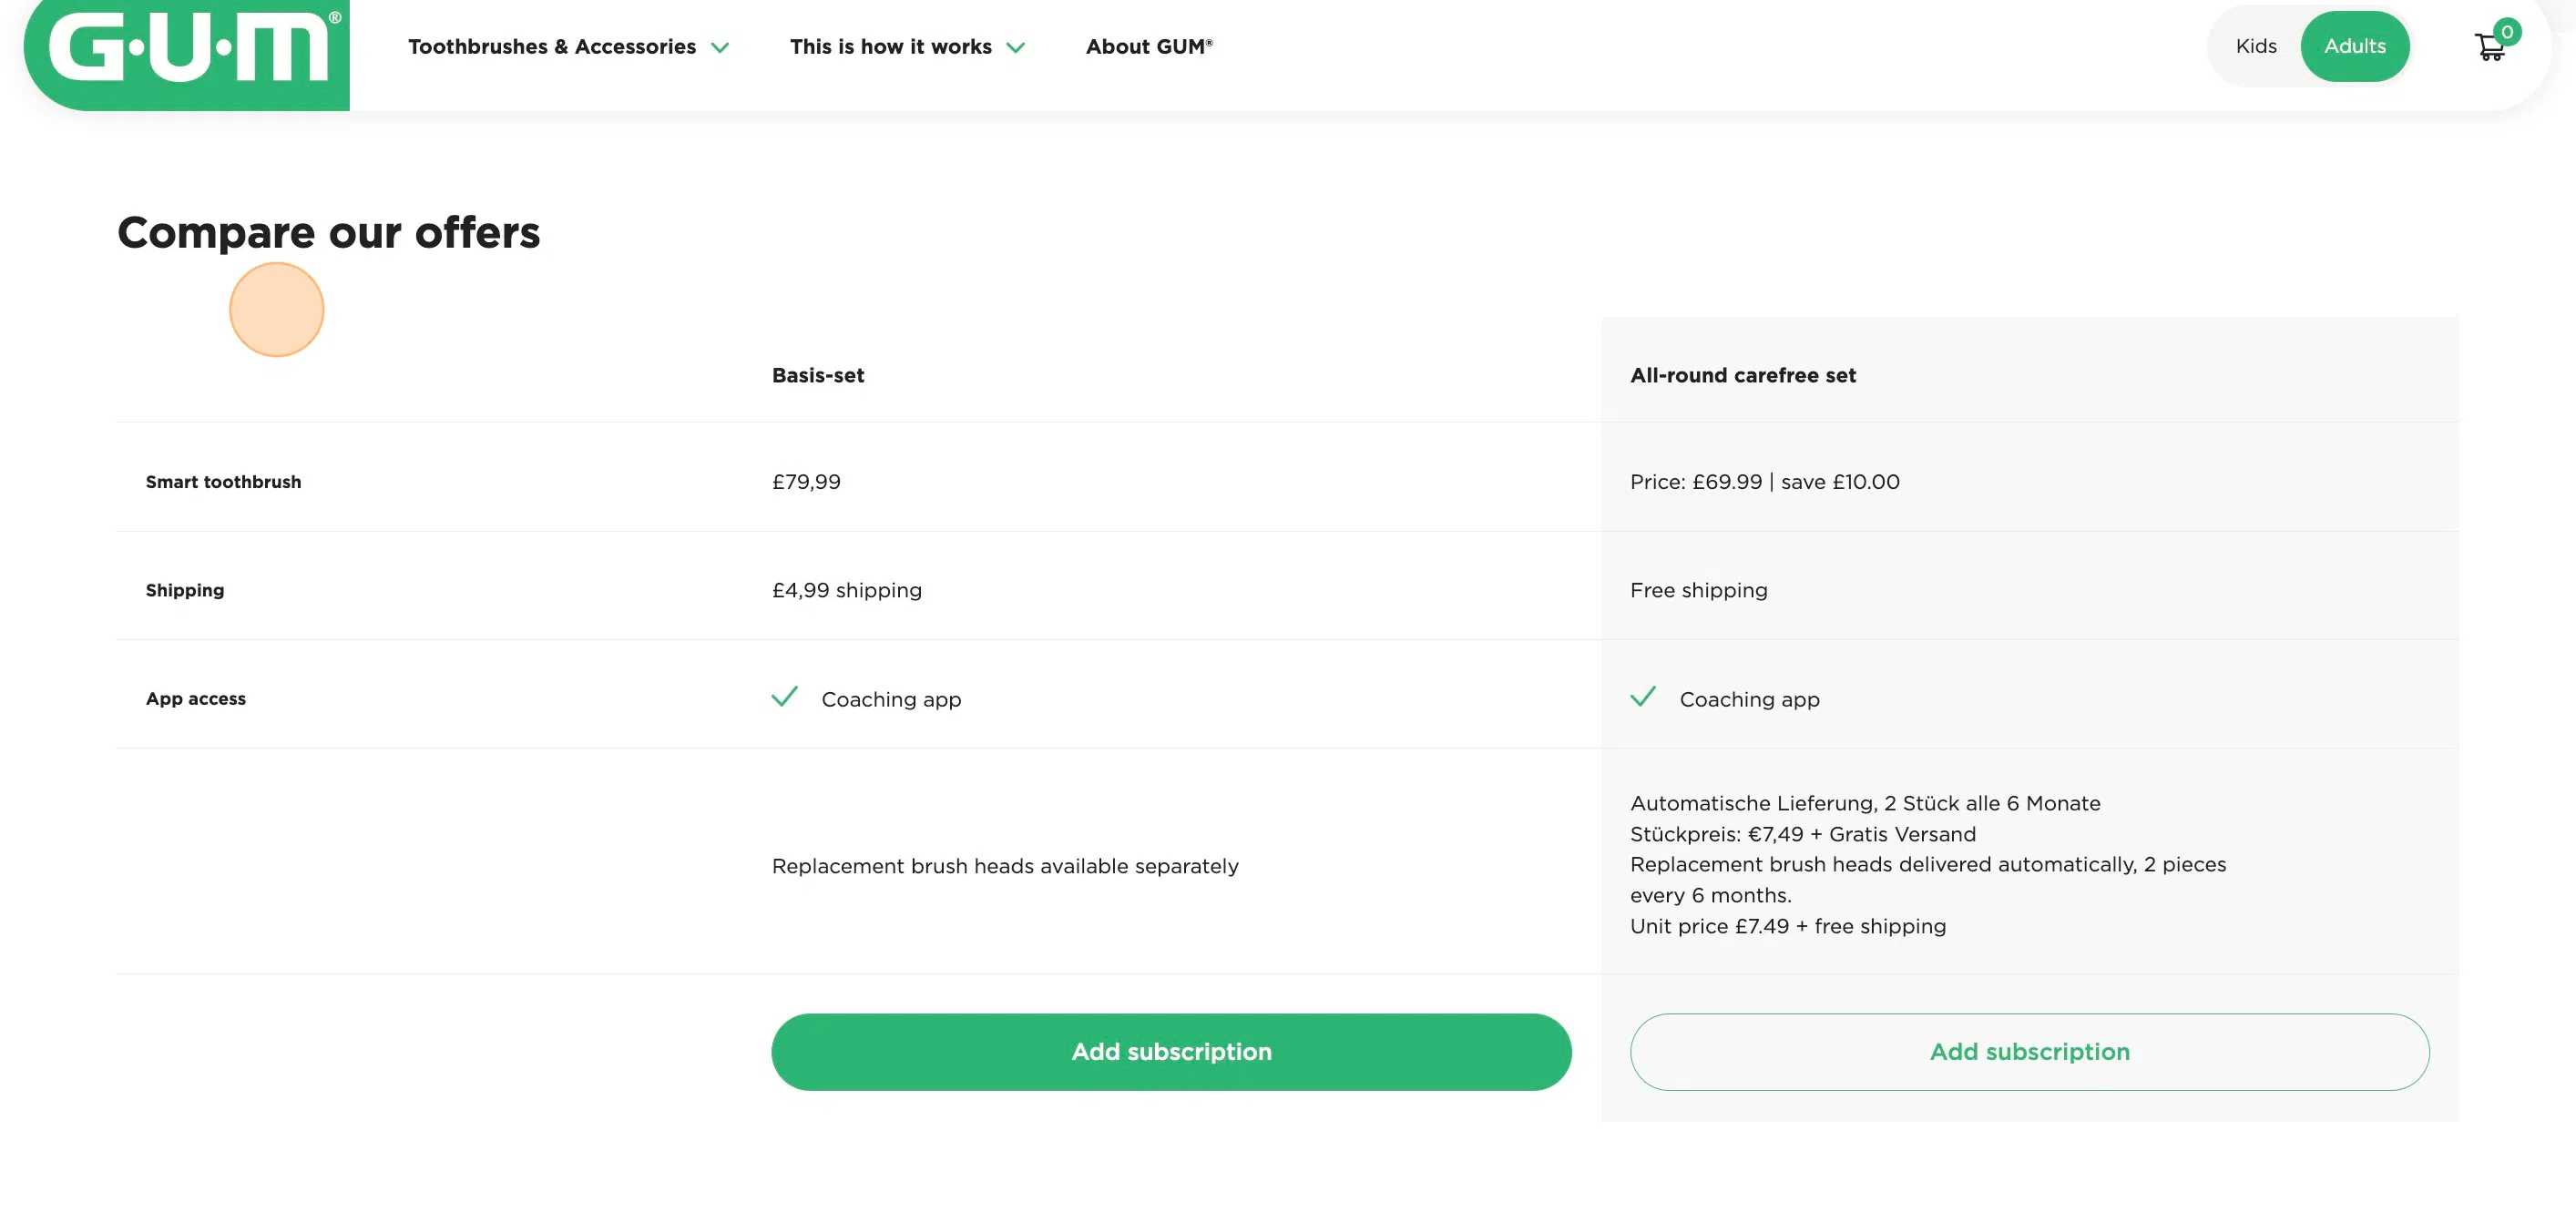
**10. We’ll now see how we can make a comparison grid.
To see how to make comparison grid columns, please see the Comparison Grid Columns guide.**
11. Click “Comparison Grid”

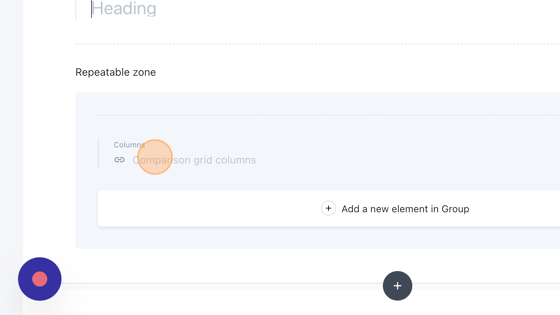
12. Click on “Heading” to give your comparison grid a title

13. Click “Comparison grid columns”
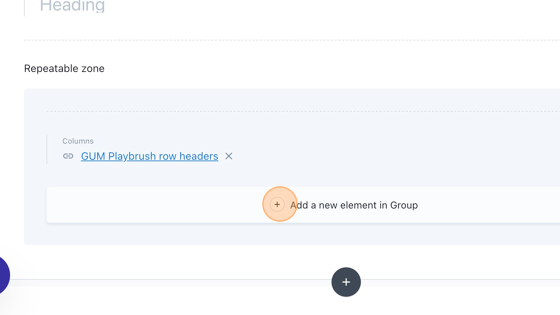
**14. Scroll down through the items to find the first column you want to insert. This will be the most left column. When found, select it. **

15. Click on “Add a new element in Group” to add another column.
**16. Repeat steps 13, 14 and 15 to add all the columns you need. **
**17. Click, hold and drag this icon in case you want to change the order of the columns. **

18. Click on the garbage icon to remove the column.

**19. Click this garbage icon to delete the whole comparison grid. **

Feature grid
20. We are going to add a feature grid.
21. Click this icon to add another element

22. Select “Feature grid”

23. Click on “Heading” to give your feature grid a title

24. Click on “Image” to add an image to your feature grid.

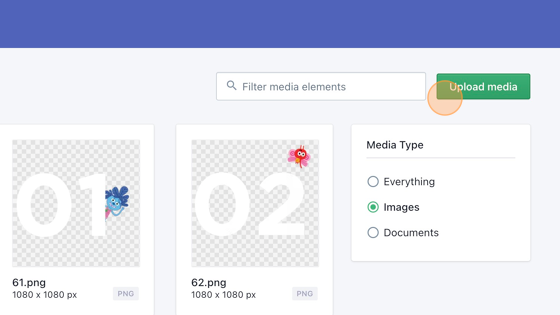
25. Click the “Filter media elements” field to search for a media element or scroll down to find the right one.

26. When found, select it.

27. Or click “Upload media” if you want to upload media from your device.

28. If you want to delete your image, click on the cross.

29. Click on title to give your feature a title.

30. Click on subtitle if you want to add a subtitle.

**31. Click on Feature to give a description of the feature. **

32. Click on “Add a new element in Group” to add another feature and retake steps 24 until 31

33. Click, hold and drag this icon to change the order of the features.

34. Click on the garbage icon to delete a feature.

35. Click on this garbage icon to delete the whole feature grid.

Video grid
**36. We’re going to add a video grid.
If you want to know how to make a video grid item, please see the video grid item guide. **
37. Click “Video grid” to add a video grid.

38. Click on “Heading” to give your video grid a title

39. Click on “Description” if you want to give you video grid a description.

40. Click on “Subheading” if you want to give you video grid a subheading.

41. Click “Select a link” to add a button to the video grid.

**42. Click “What kind of link do you want to insert?” for the button. **

**43. Click “Link to a Document…” if it’s a document on the website you want to redirect the user to. **

**44. Click the “Search…” field to type the document you’re looking for. **

45. You can also use a type to filter the results by click the ”…” field and to type a type.

46. When you found the desired document, click on it.

47. Click the “Button text” to insert the text that will be displayed on the button.

48. Click “Prismic video grid item” to add a video grid item.

49. We’re looking for a “Video grid item”, so you can leave the type “Video grid item”.

**50. Click the “Search…” field to search for the desired video grid item or you can manually scroll down to look for it. **

51. Click on the desired video grid item.

52. Click “Add a new element in Group” to another video grid item and retake steps 48 until 51.

53. Click, hold and drag this icon to change the order of the video grid items.

54. Click on the garbage icon to delete a video grid item.

55. Click on this garbage icon to delete the video grid.

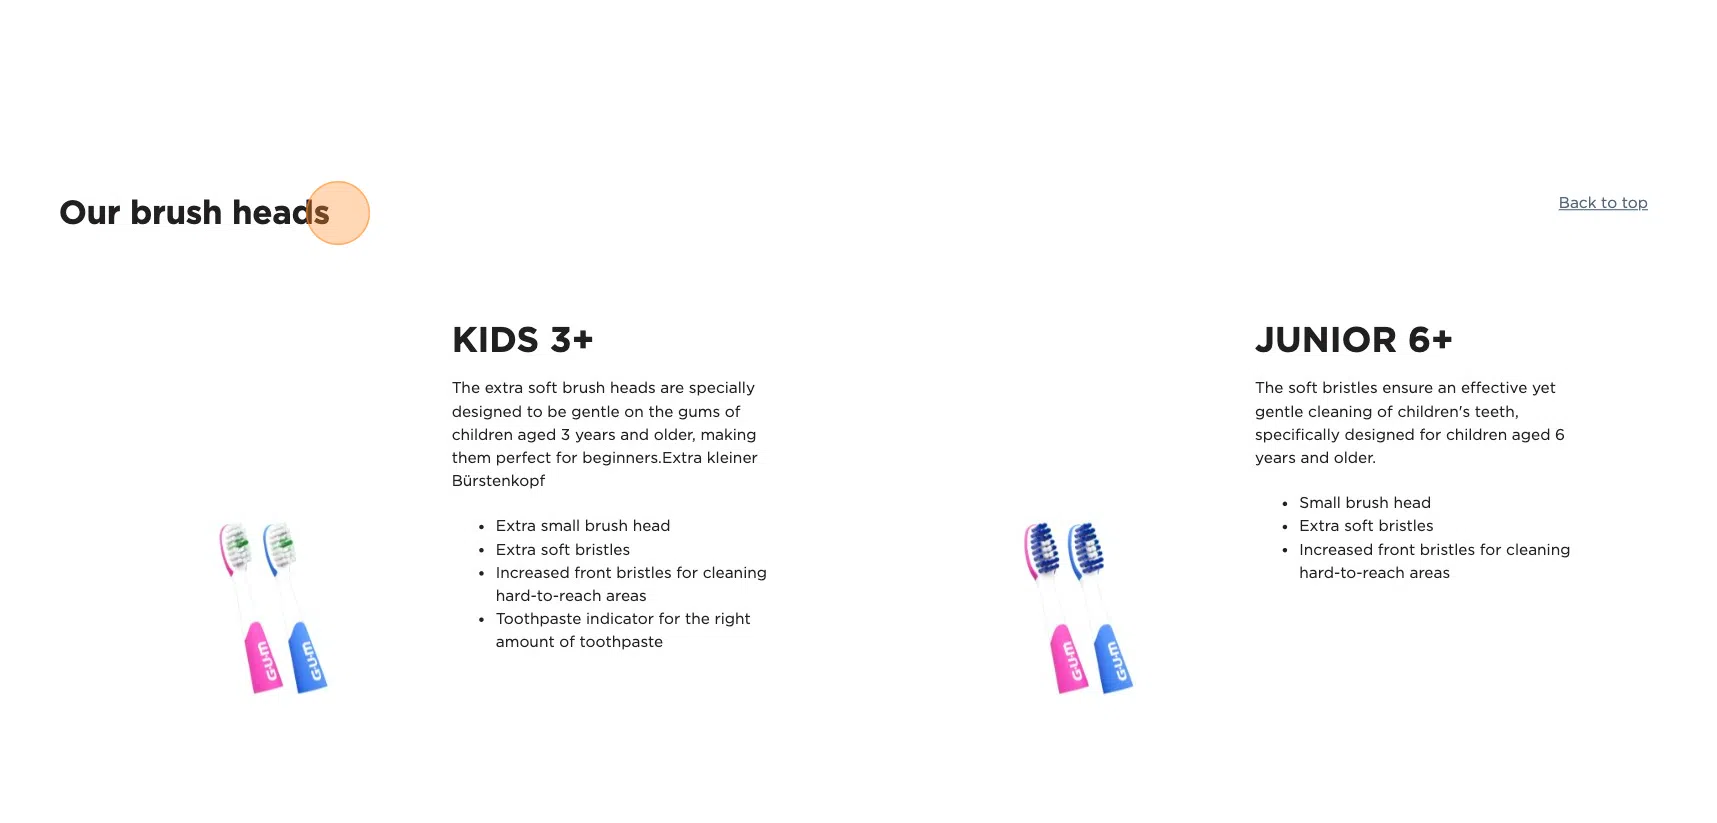
Brush features
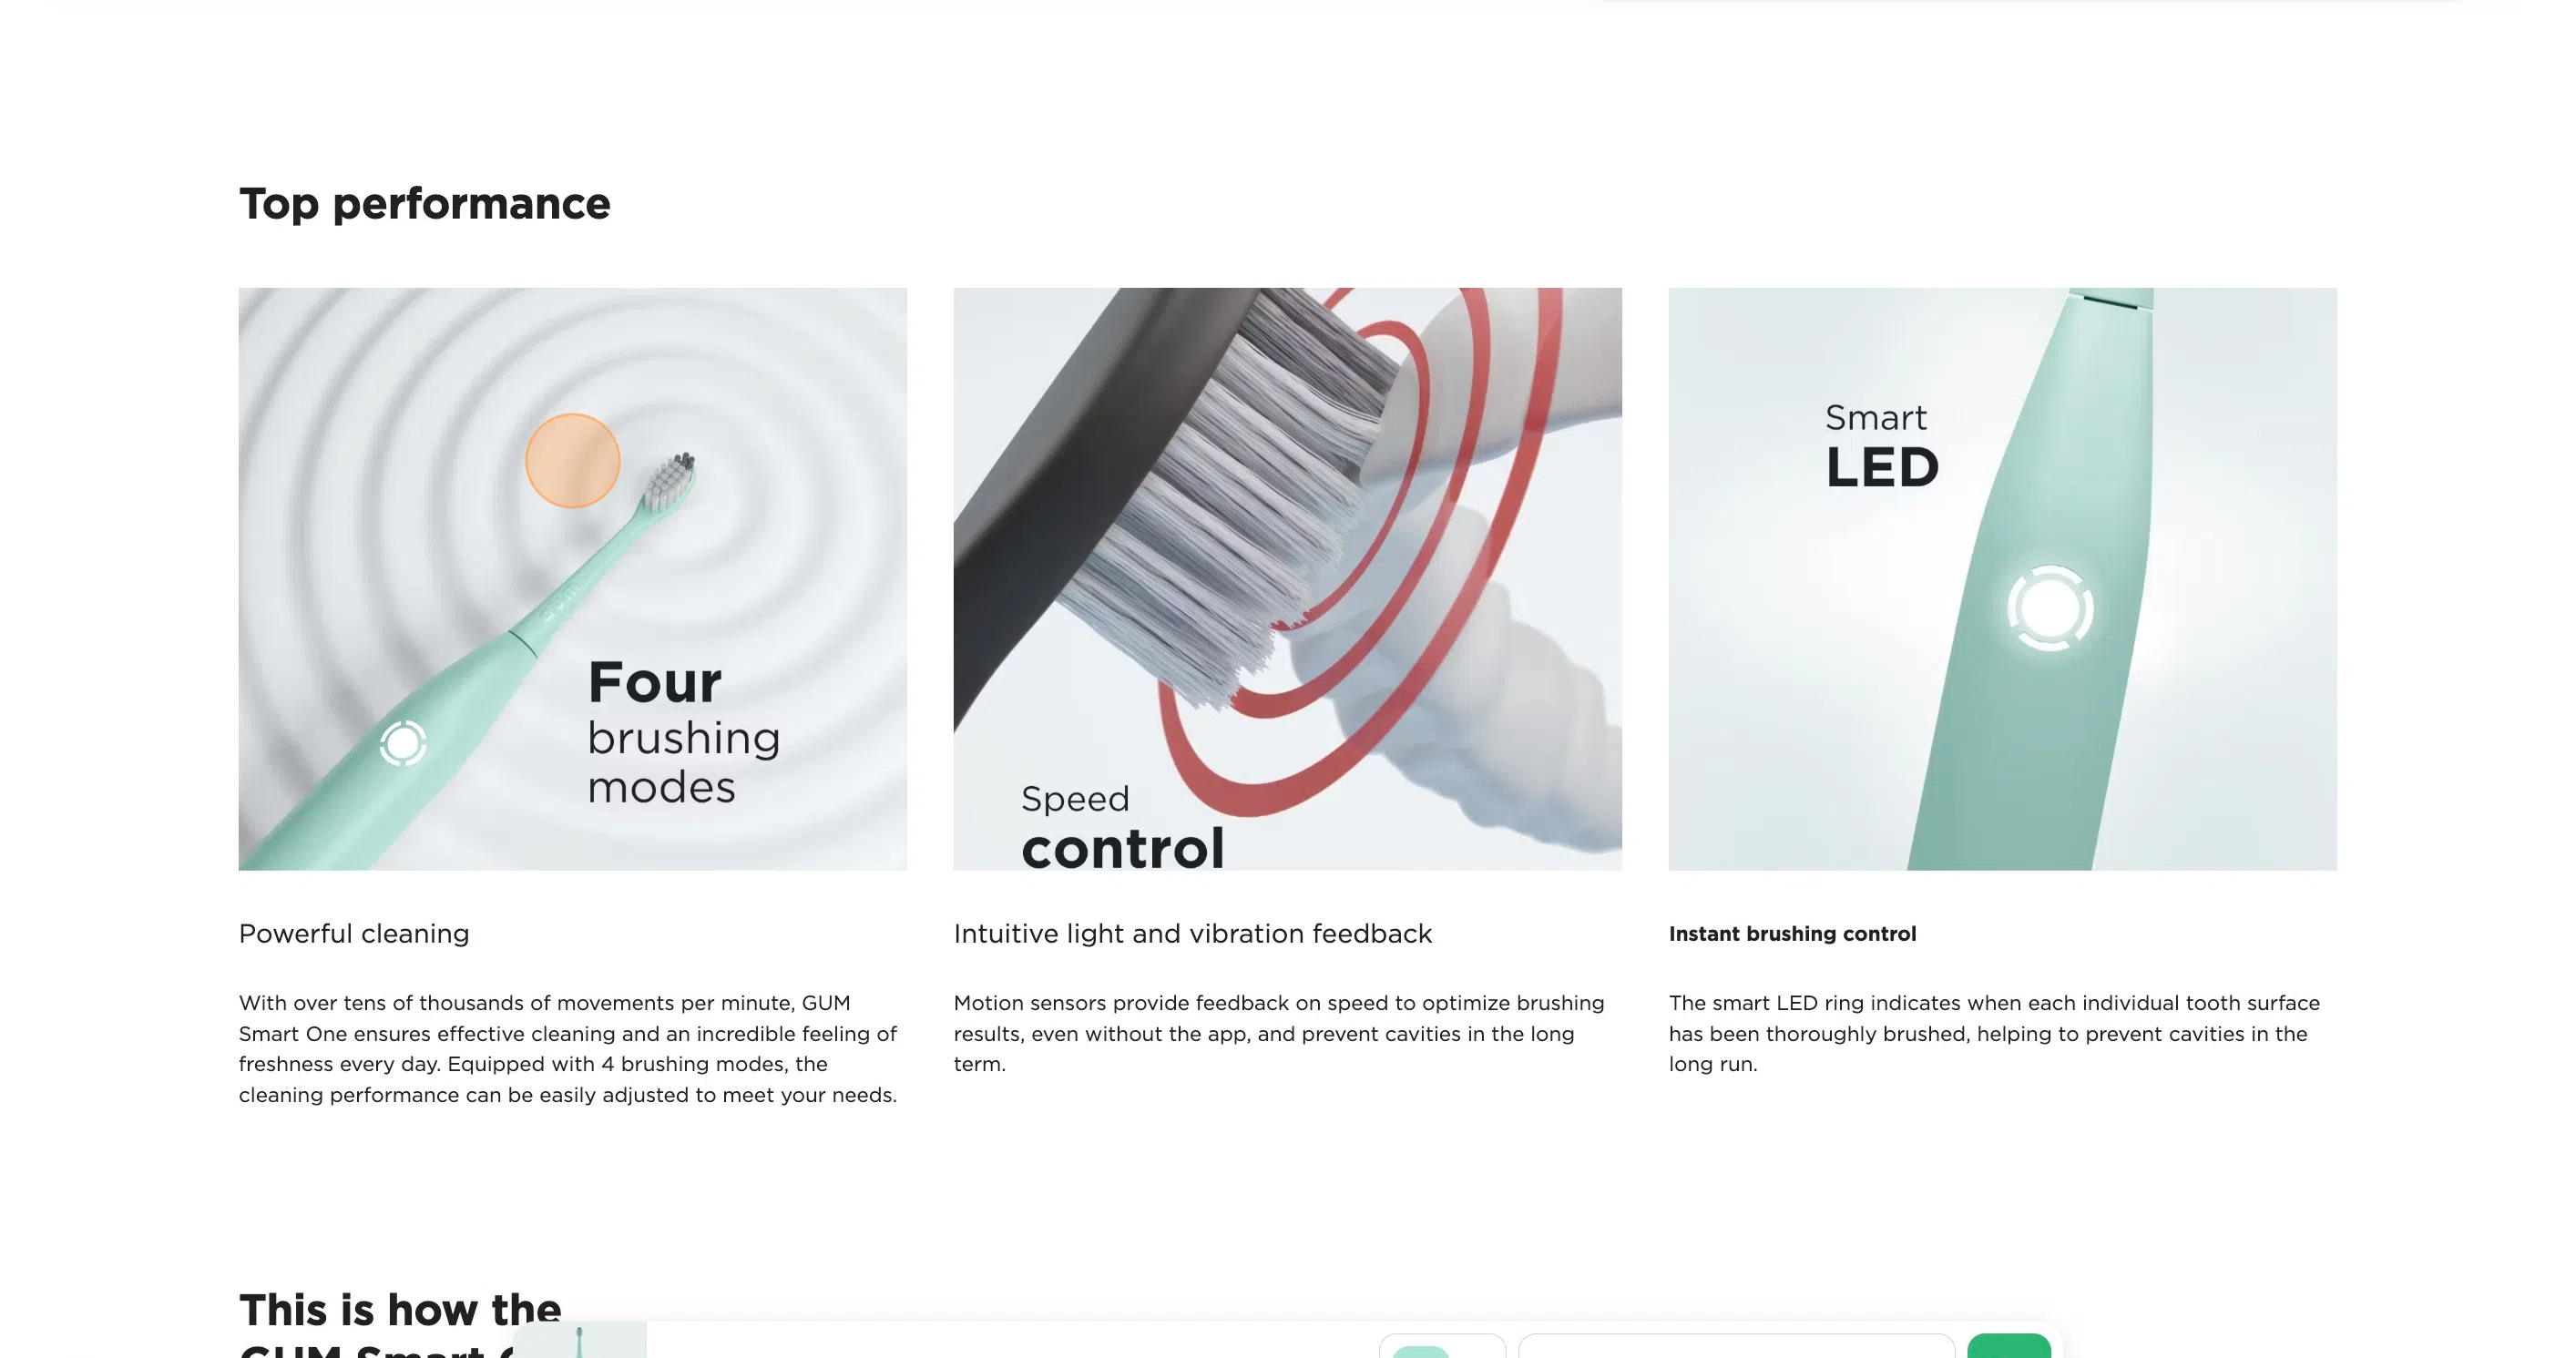
**56. We’re going to add brush features. **
57. Click “Brush features”

58. Click on “Heading” to give your brush features a title

59. Click on “Description” to fill in a description

60. Click this icon to add an image.

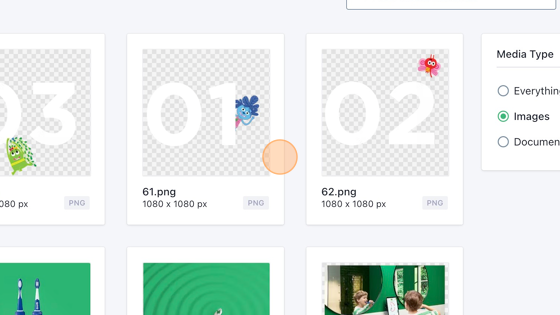
61. Click the “Filter media elements” field to search for your media item.

62. Click on your desired media item.
63. Or click “Upload media” to upload an image from your device.
64. Click on the cross icon to remove the image.

**65. Click “Select a link” to add a button with a url to which you want to redirect the user. **

66. Click “What kind of link do you want to insert?”

67. Click “Link to a Document…”

68. Click the “Search…” field to search for a document or scroll through the documents to find the desired document.

69. Click on the desired document.

70. Click on “Button text” to give your button text.

71. Click this garbage icon to remove the Brush features.

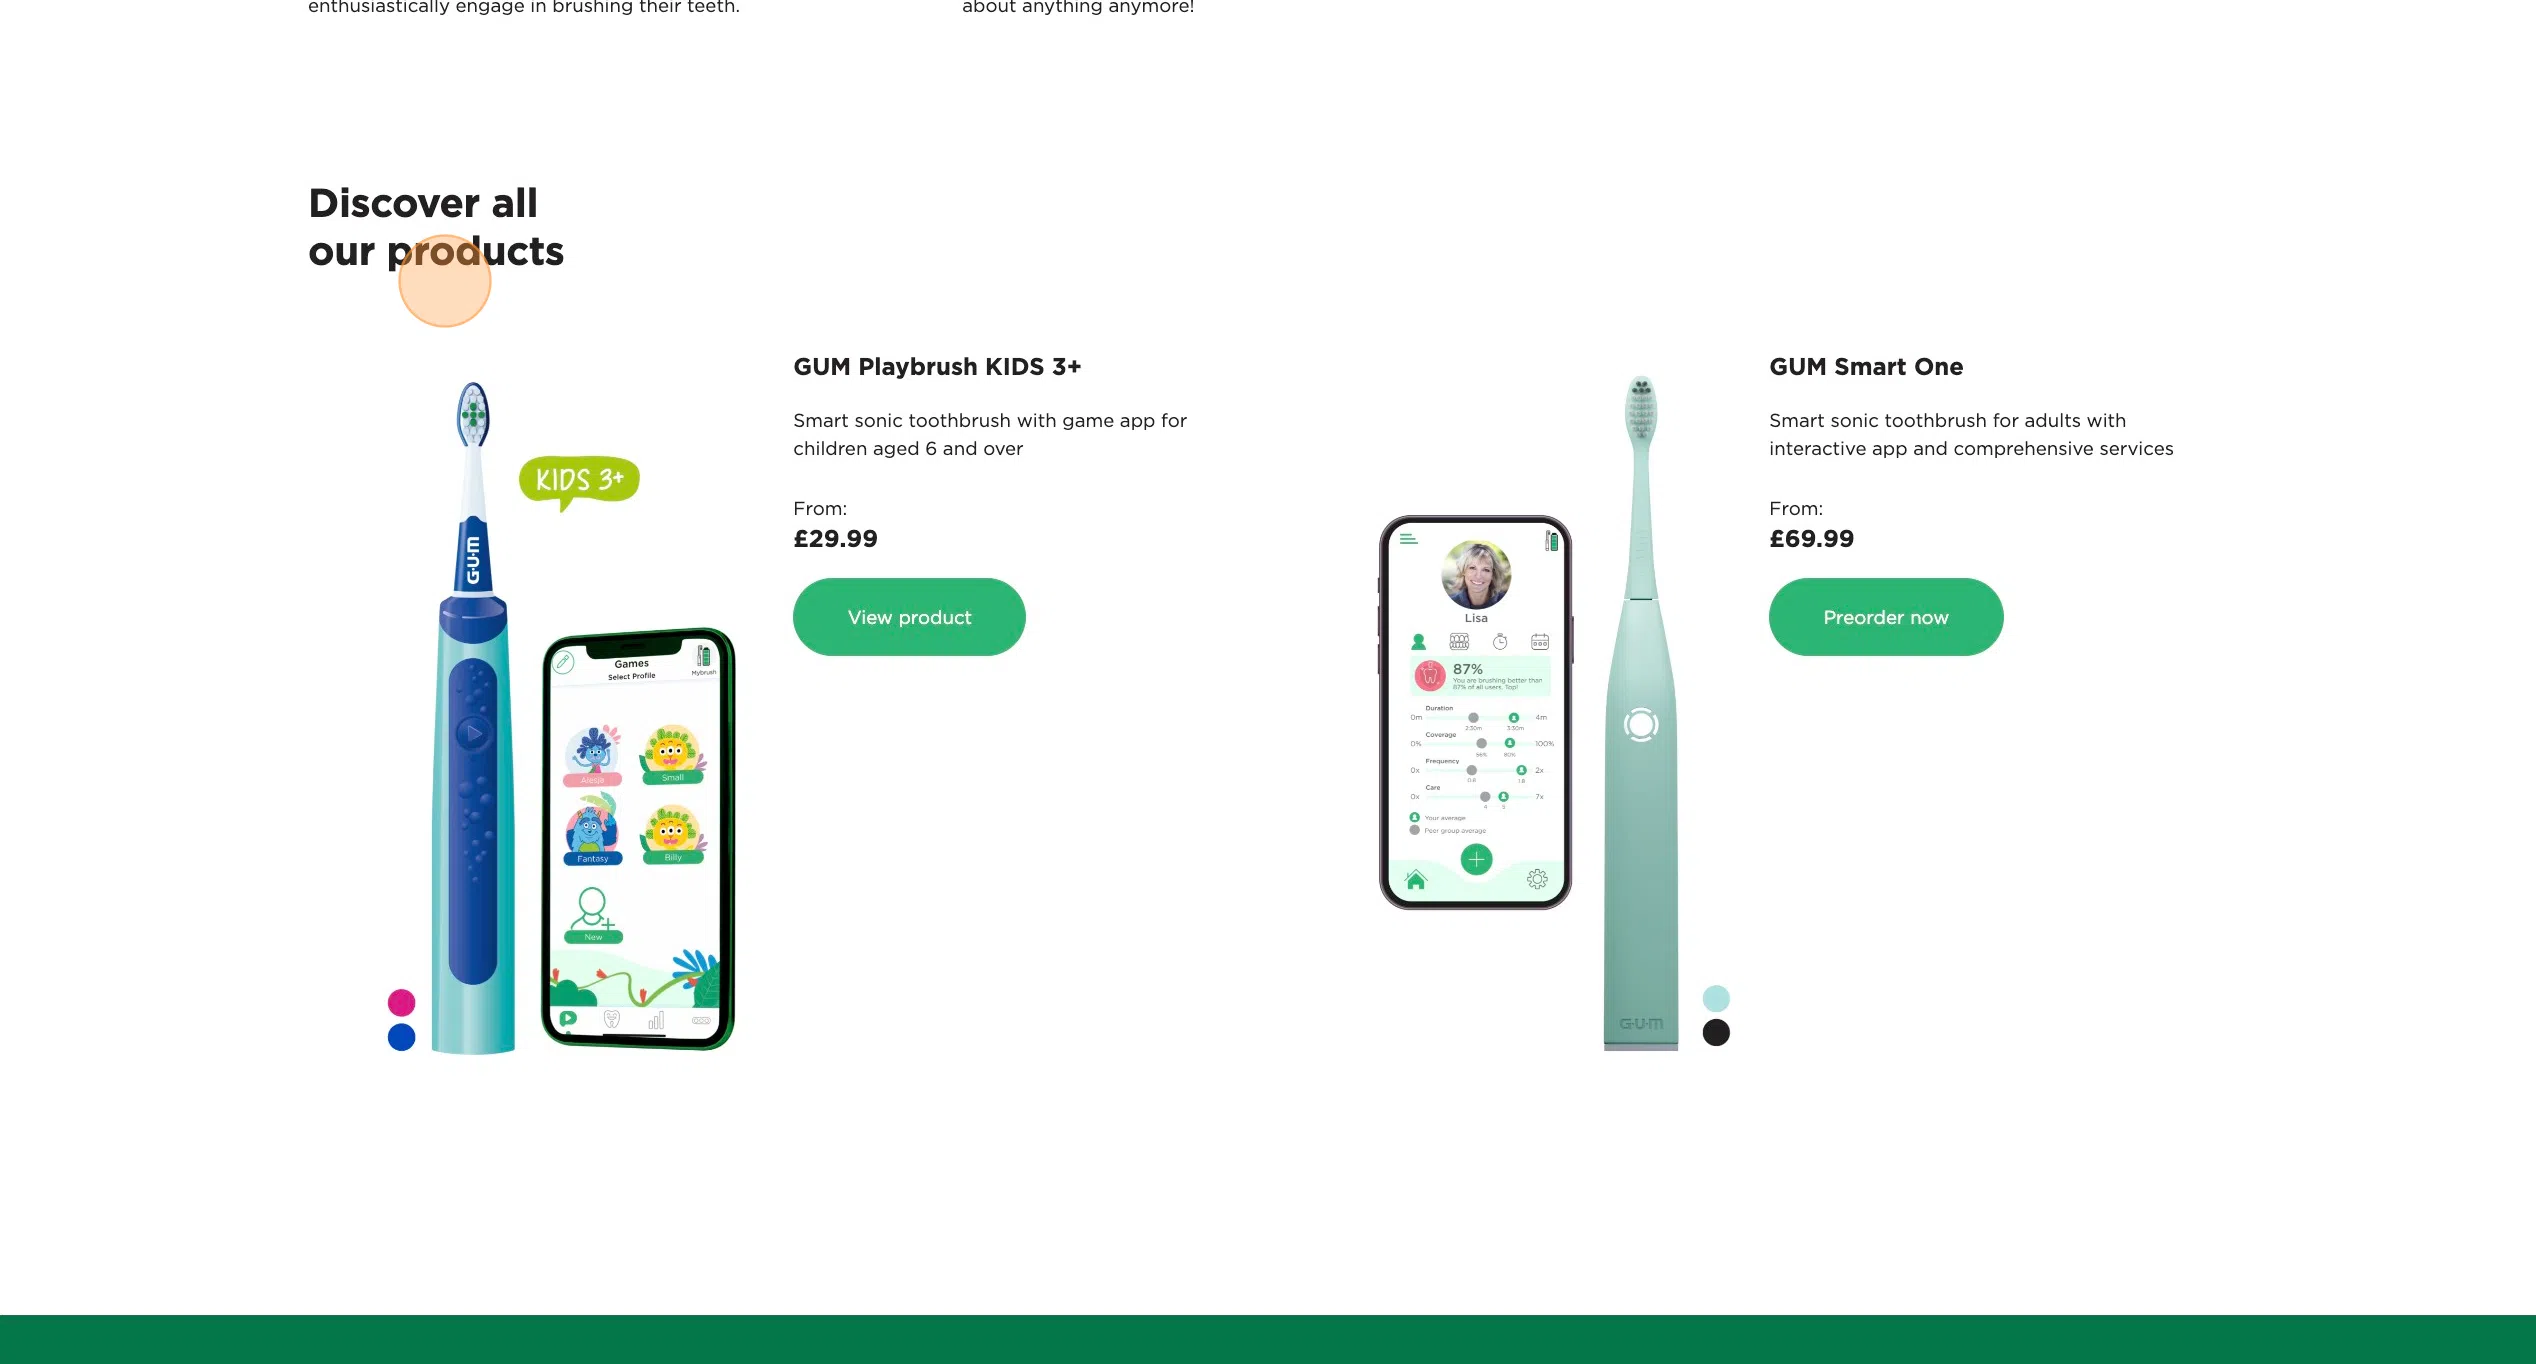
Featured products
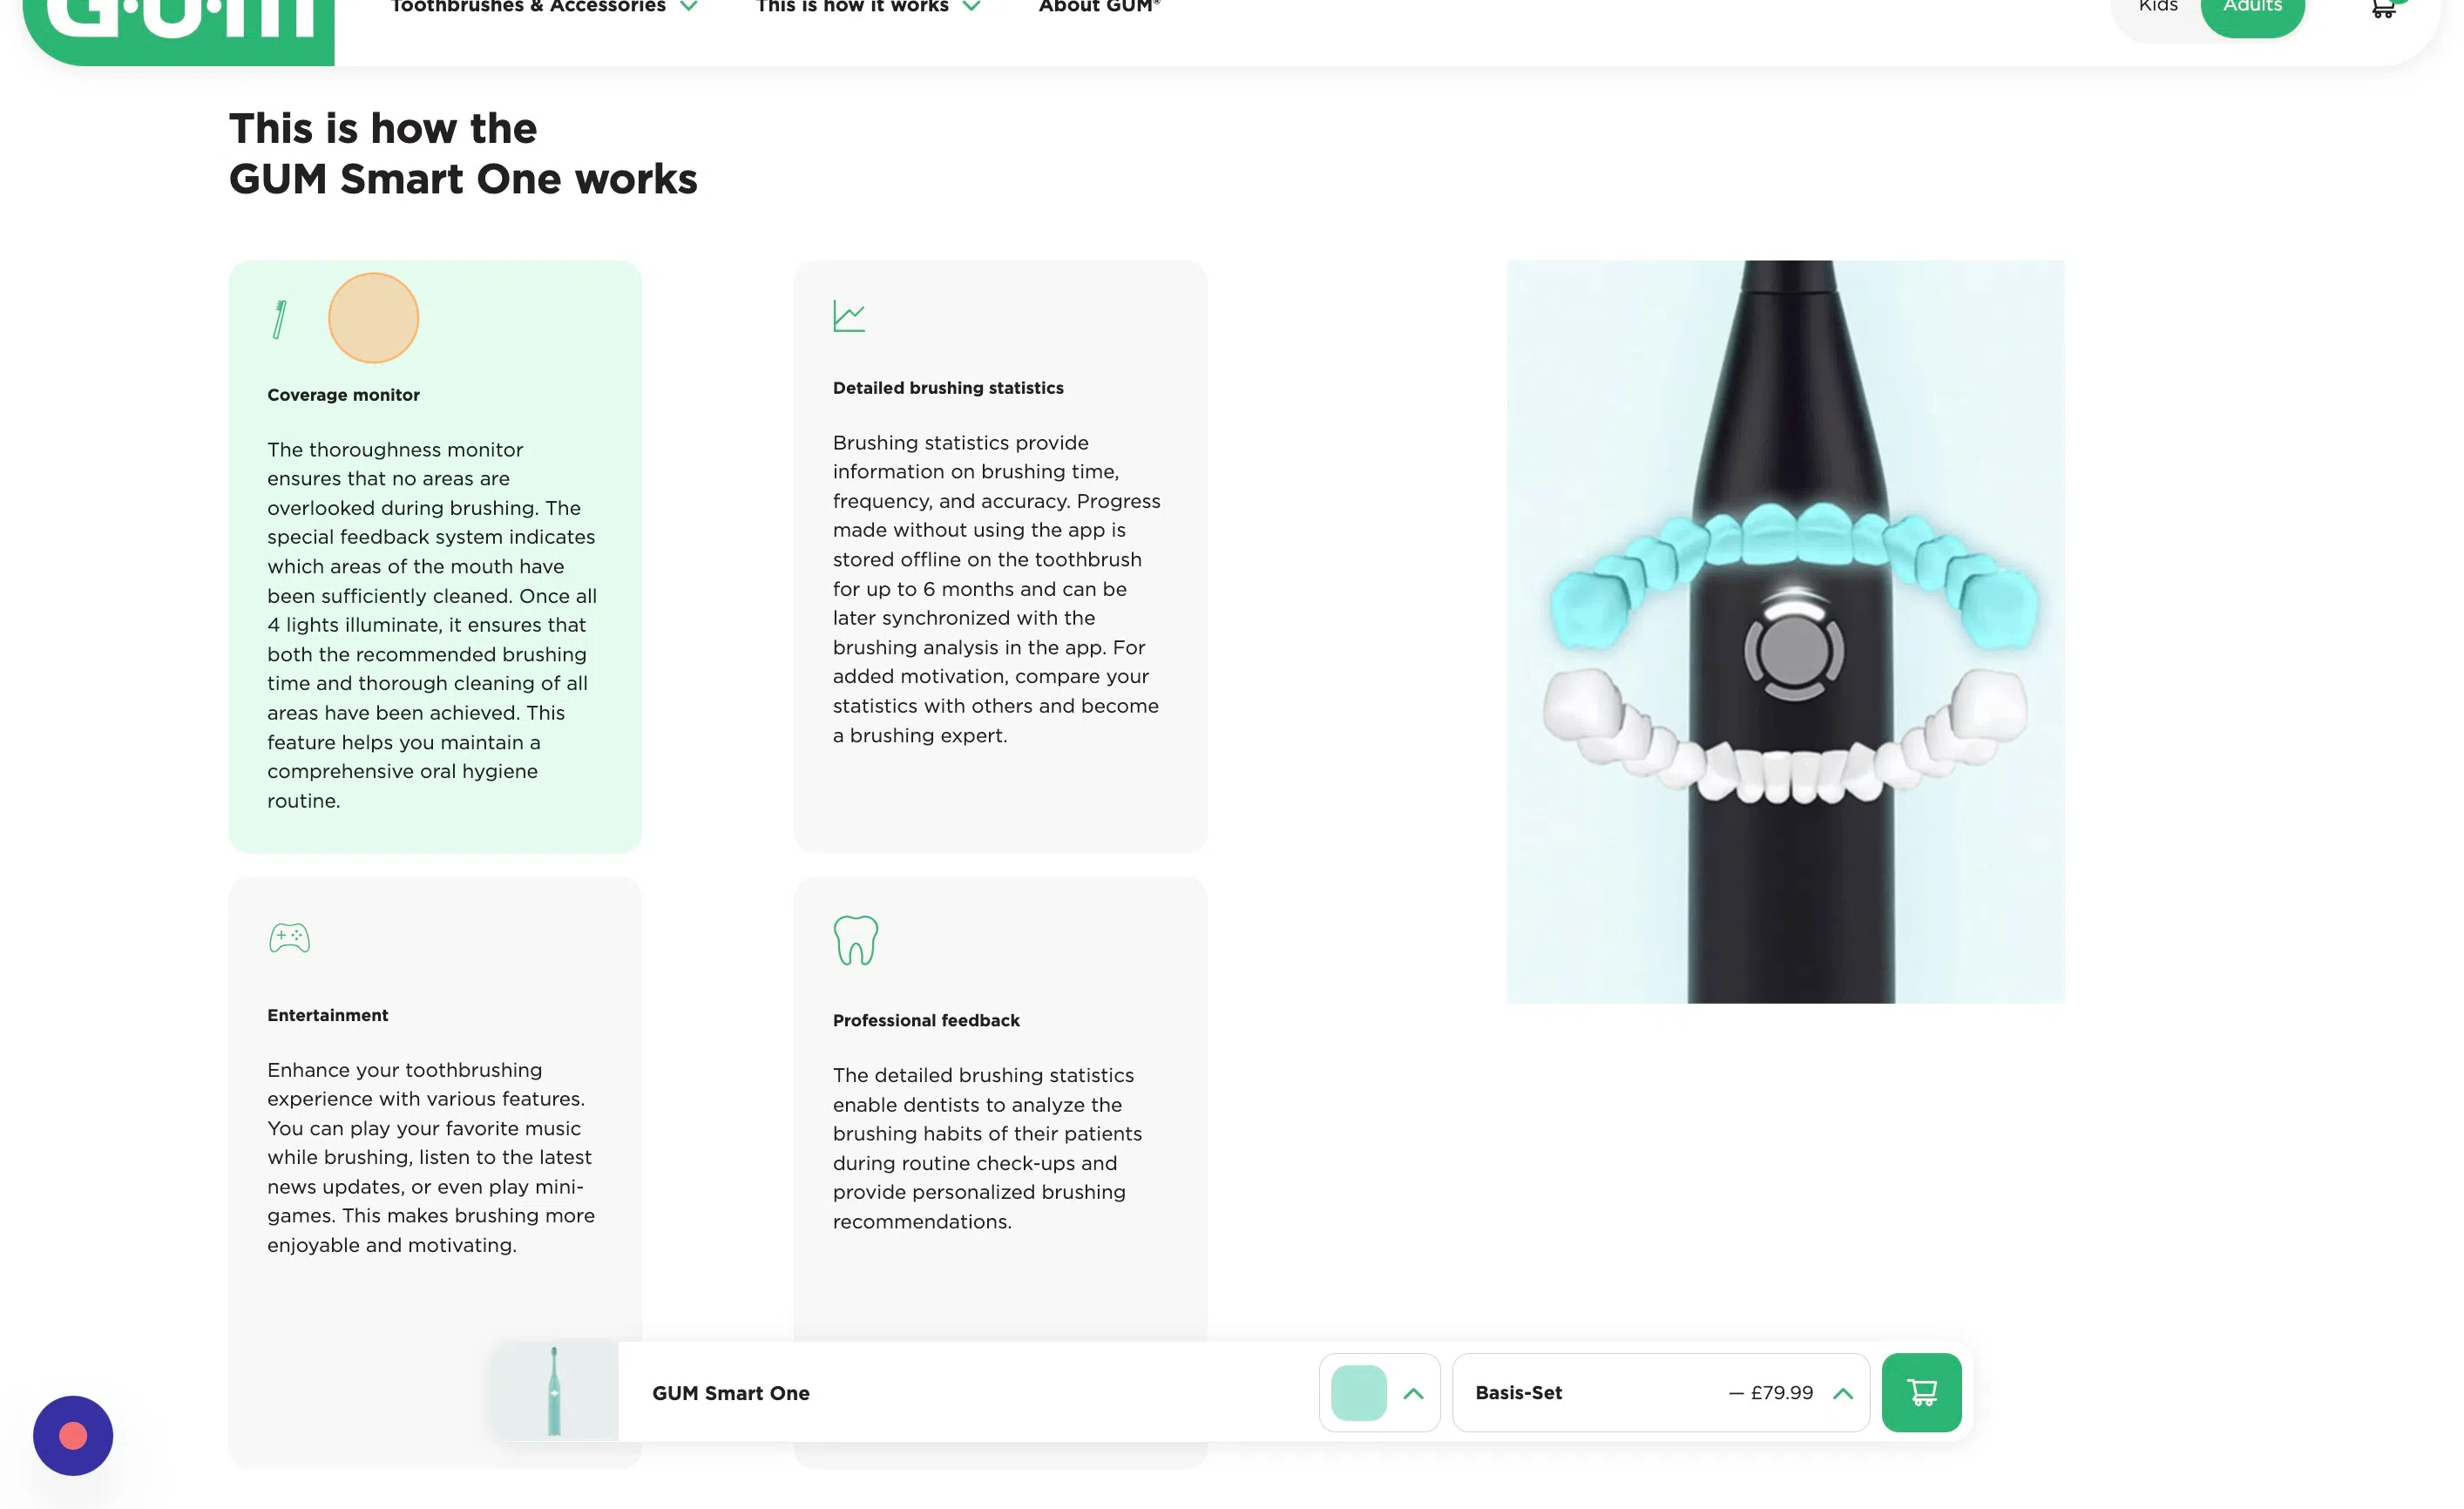
**72. We’re going to add a “Featured Products” **
73. Click this icon.

74. Click on “Featured products”.

75. Click on “Heading” to give your featured products a title

76. Click here to add an image.

77. Click the “Filter media elements” field to search through the media elements or scroll through them manually.

78. Click on the desired media item.

79. Or if you want to upload your own media, click “Upload media”.

80. Click on the cross icon to remove the chosen image.

**81. Click this dropdown to choose between one or two columns. **

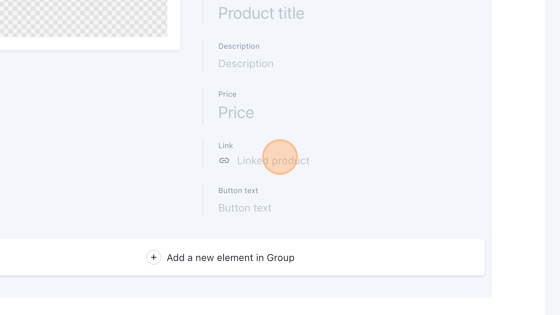
82. Click on “product title” to give you featured product a title.

83. Click on “Description” to give a description to your featured product.

84. Click on price to give the corresponding price to your featured product.

85. Click “Linked product” to add the link to the corresponding product.
86. Click “What kind of link do you want to insert?”

87. Click “Link to a Document…”

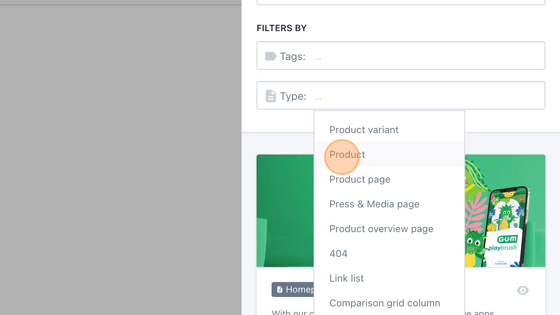
**88. Click the type field to add a type on which you want to filter the results. **

89. Click “Product”

90. Click on the desired product.

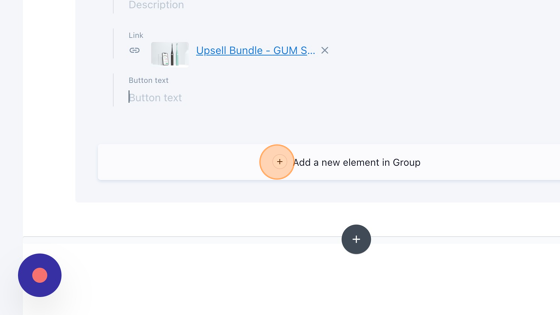
91. Click on “Button text” to insert the text for the button.

92. Click “Add a new element in Group” to add a new featured product and retake stept 76 until 91.

93. Click, hold and drag this icon to change the order of the links in the list.

94. Click on the garbage icon to delete a featured item.
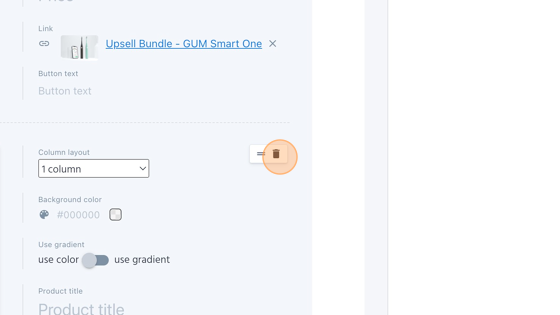
95. Click on this garbage icon to delete the whole featured products element.

Page wide video
96. We’re going to add a page wide video.

97. Click here.

98. Click “Page wide video”

99. Click here to add an image.

100. Click the “Filter media elements” field to search through the media items or scroll down the items manually.

101. Click on the desired media item.

**102. Or click “Upload media” to upload media from your own device. **

103. Click the “Alt text” field to add the alternative text that will be shown if the image doesn’t work.

104. Click “Video”

105. We want to search through all the videos, so we’ll keep the type on “Video”.

**106. Click the “Search…” field to search for a specific video or scroll through the results manually. **

107. Click on the desired video.

108. Click on the cross icon if you want to remove the video.

109. Click on the garbage icon to remove the whole video item.

Featured Brushes
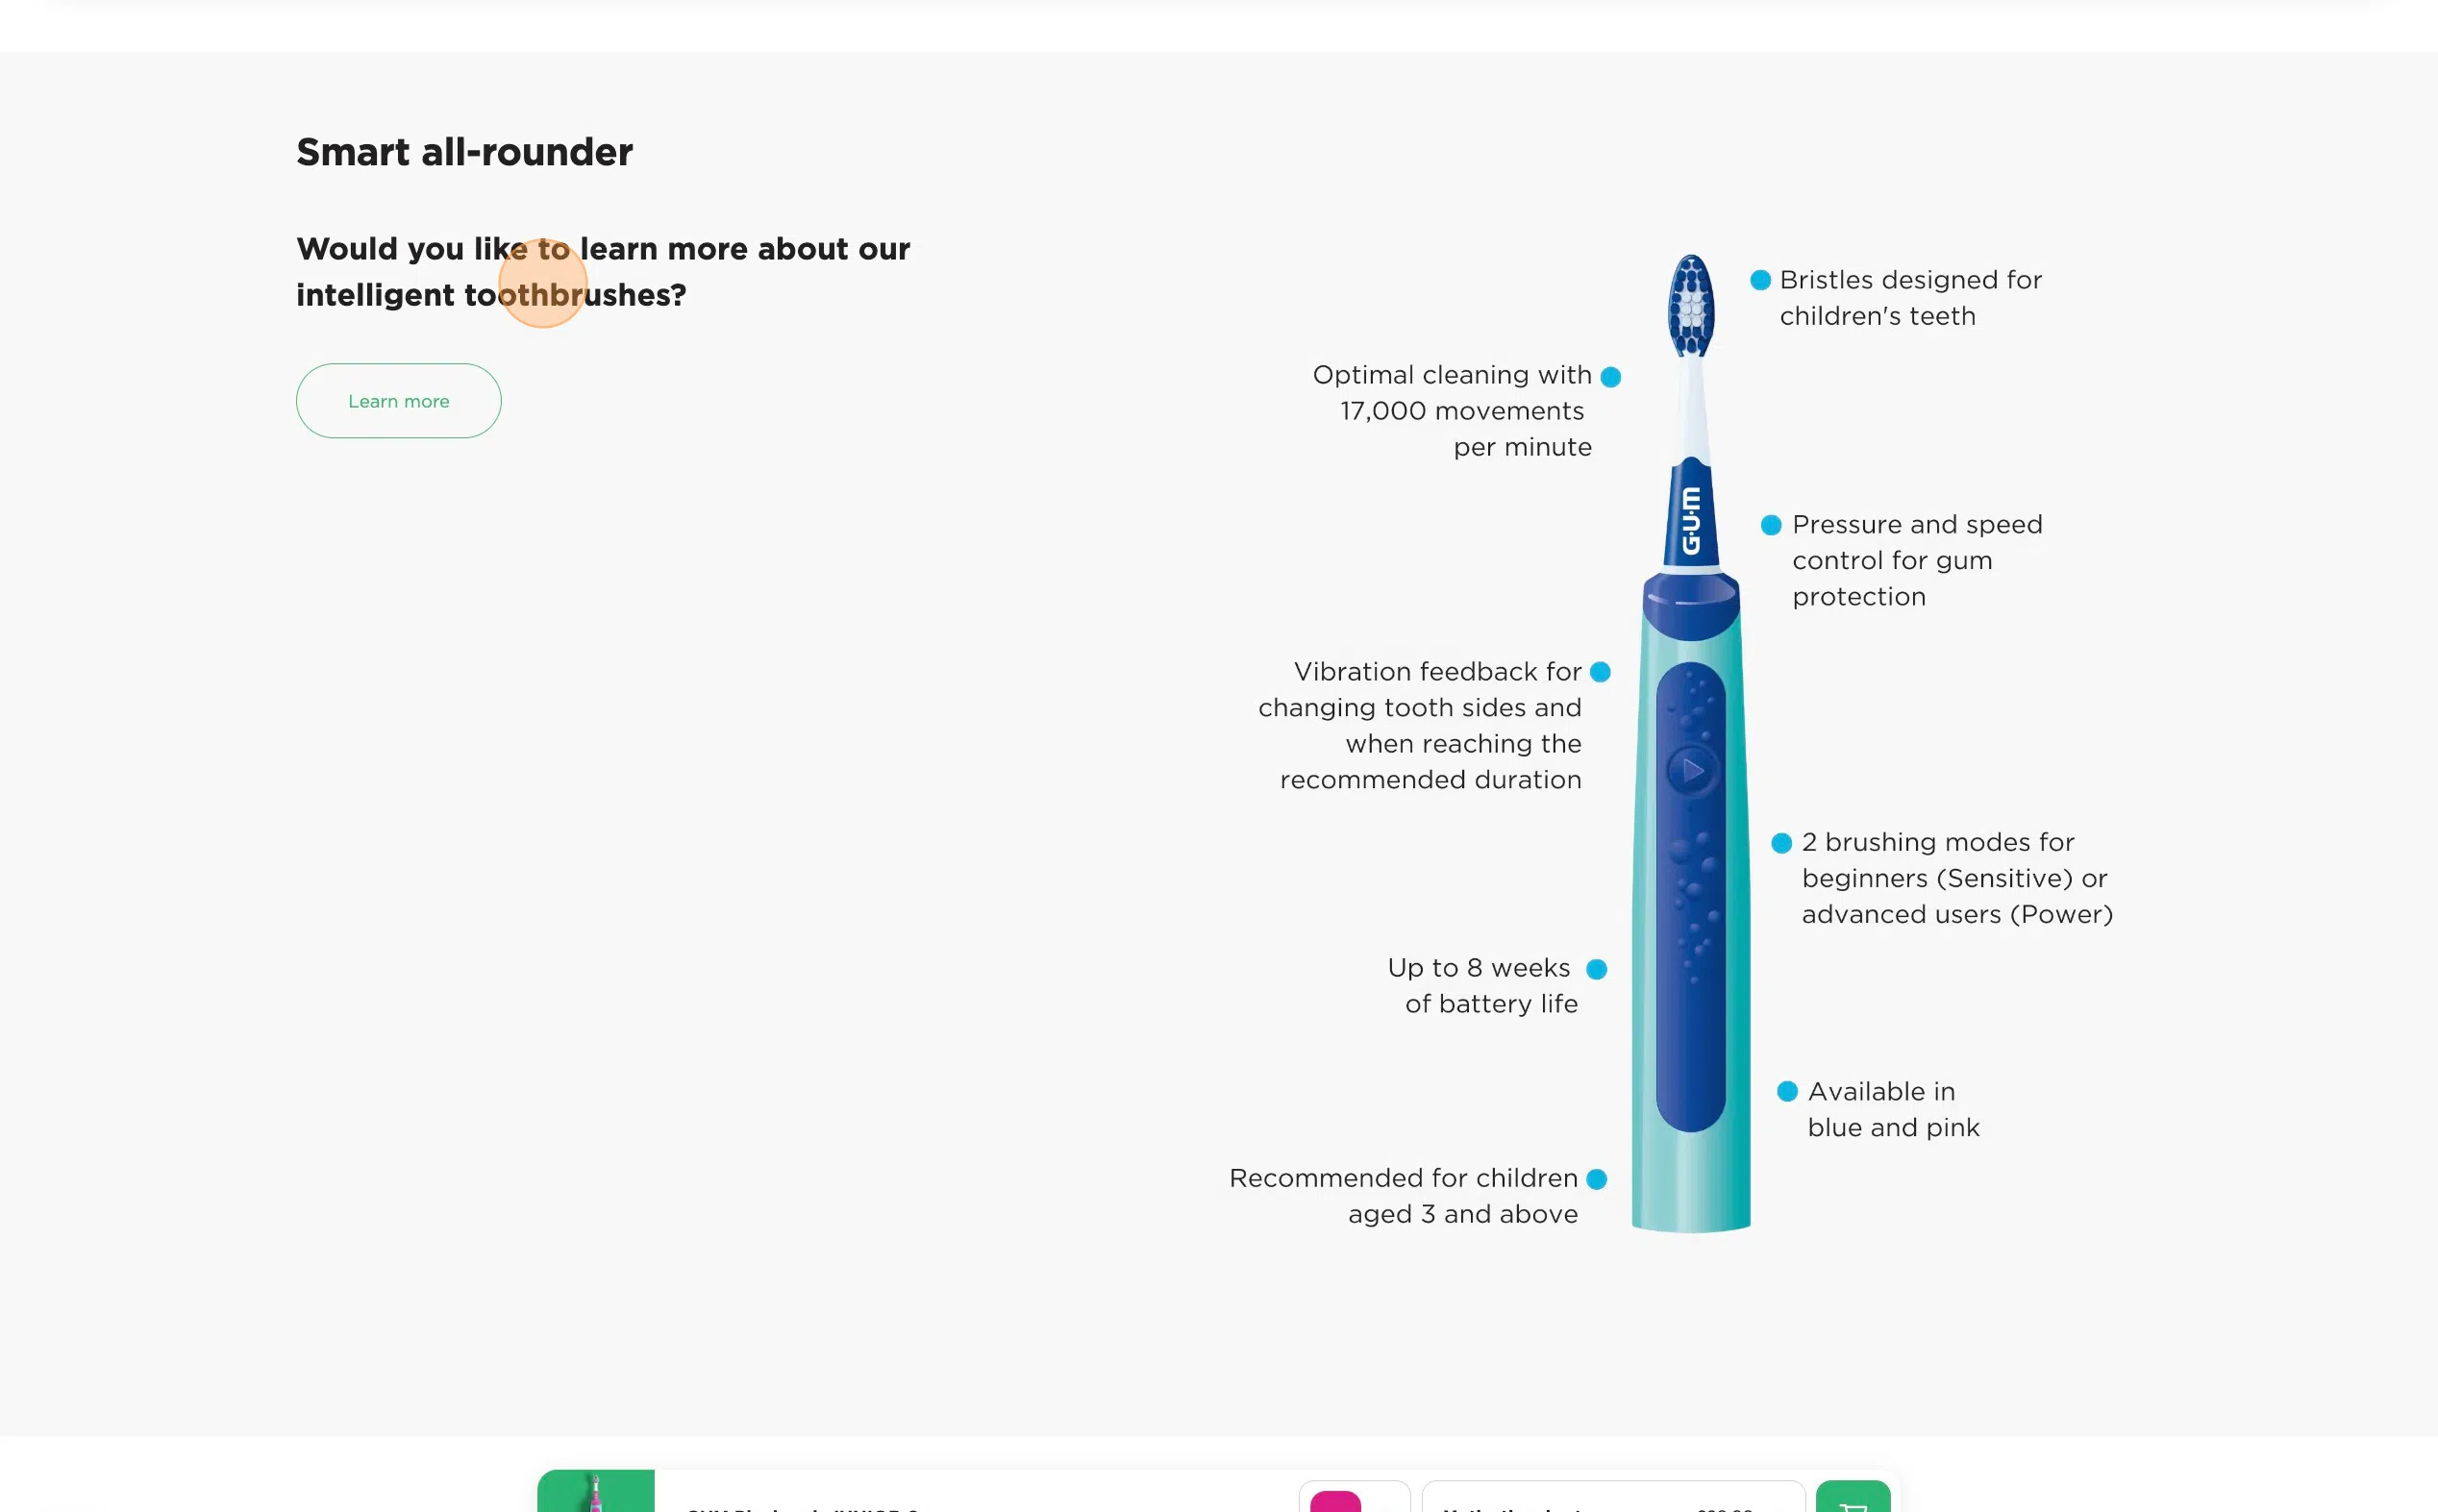
110. We’re going to add a featured brushes item.
111. Click “Featured brushes”

112. Click on “Heading” to give your Featured brushes a title.

113. Click here to add an image.

114. Click the “Filter media elements” field to search for a specific media or scroll through the results manually.

115. Click on the desired media item.

116. Or click “Upload media” to upload a media item from your own device.

117. Click the “Alt text” field and insert the alternative text that will be shown when the media item is not working.

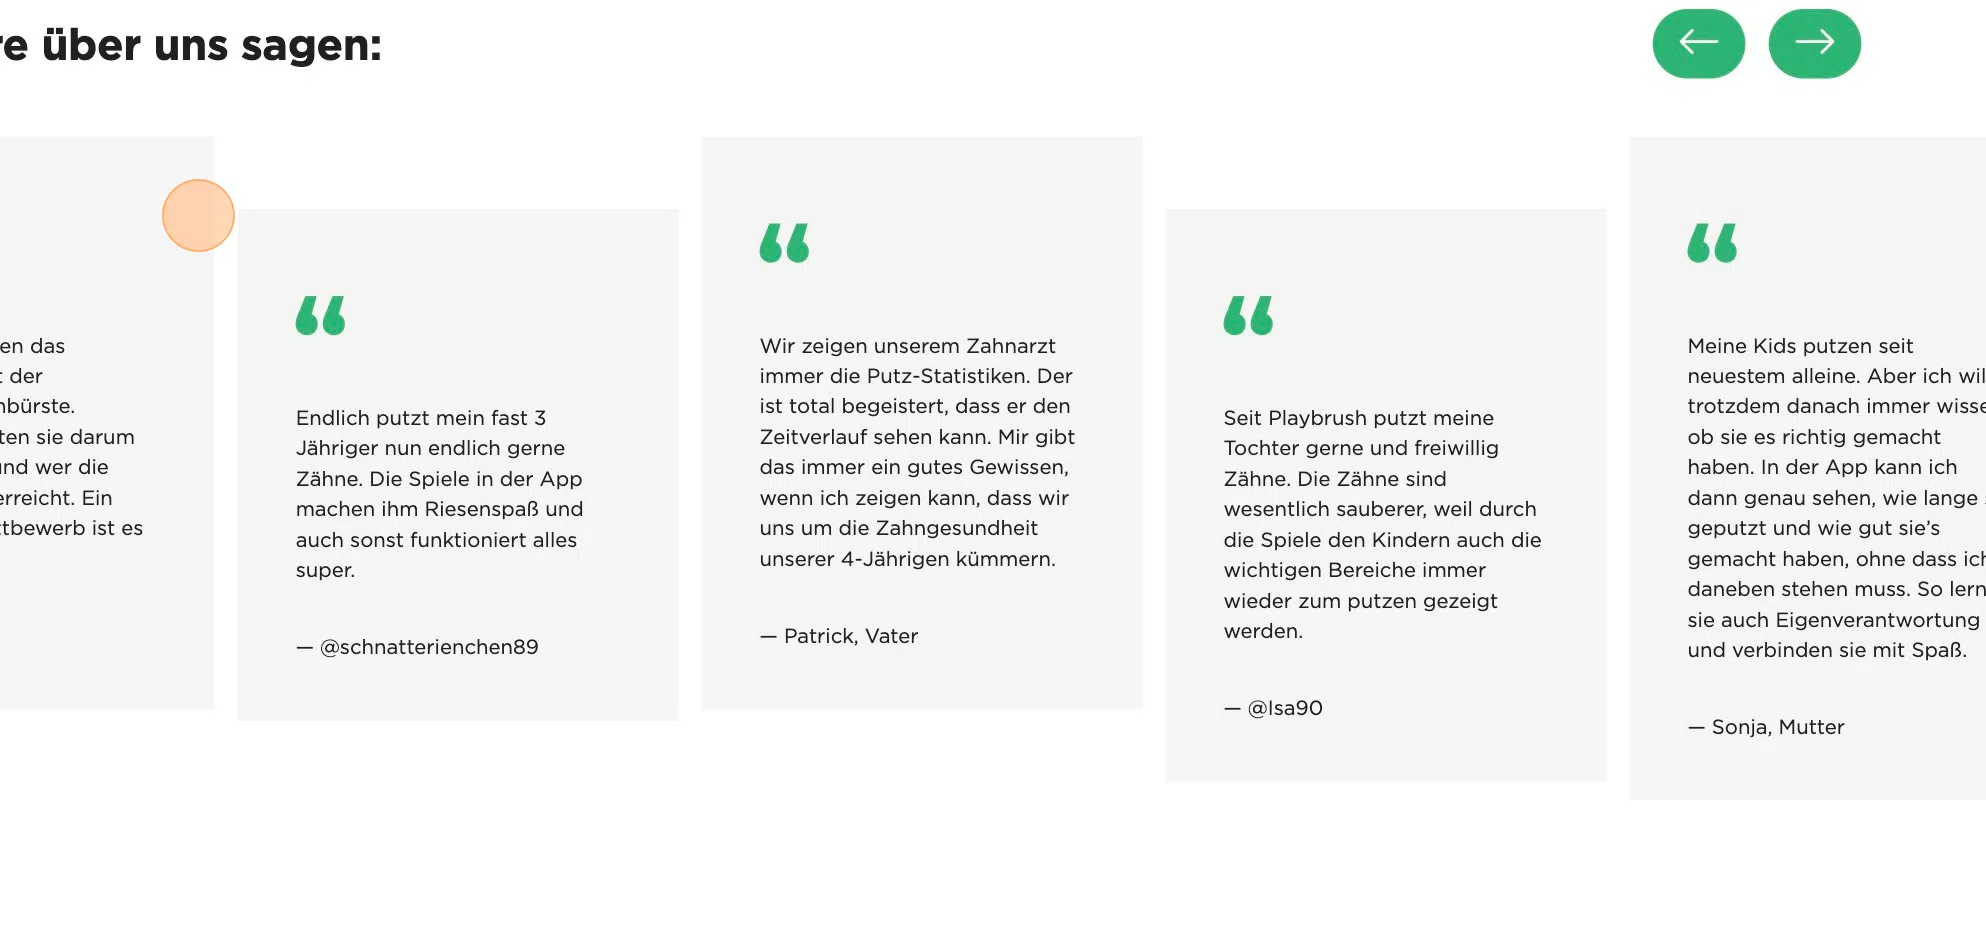
118. Click “Product title” to give the product a title.

119. Click “Description” and give the production a description.

120. Click “Linked product” to insert a link.

121. Click “What kind of link do you want to insert?”

122. Click “Link to a Document…” to insert a link to a document.

123. Click the type field and type “product” to filter the results to products.

124. Click “Product”
125. Filter through the results and select the desired product.

126. Click on “Button text” to give the text of the button.

127. Click “Add a new element in the group to add another featured brush and retake steps 113 until 126.
128. Click, hold and drag this icon to change the order of the featured brushes.

129. Click the garbage icon to delete the featured brush.

130. Click this garbage icon to delete the whole featured brushes element.

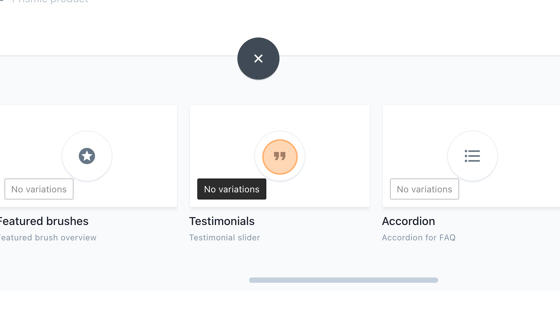
Testimonials
131. We’re going to add a testimonials element. To create one testimonial, please see the testimonial guide.
**132. Click “Testimonials” to add testimonials to the page. **
133. Click on the slider “Use wide layout” to change from a slim layout or a wide layout.
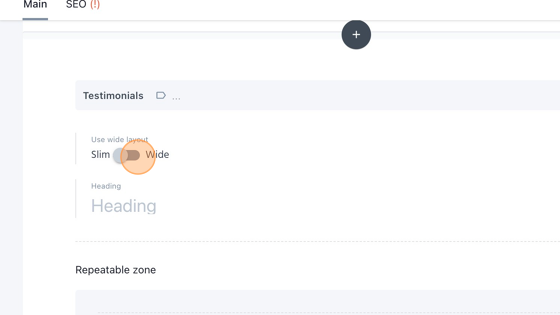
134. Click on “Header” to give a title to your testimonials.

135. Click “Select a link” to select a testimonial from the database.

**136. The type is already on “Testimonial”, and we want to keep that, since we want to search for testimonials. **

**137. Search through the testimonials (or use the searchbar) and select the desired testimonial. **

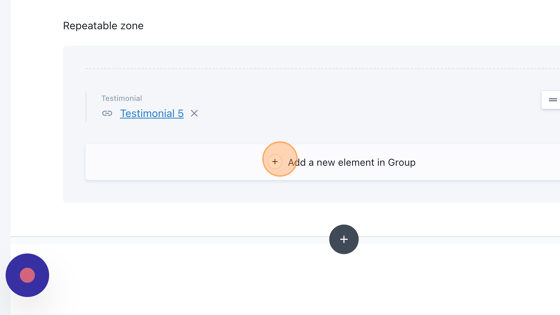
**138. Click “Add a new element in Group” to add another testimonial. Retake steps 135 until 137. Do this until you have all the testimonials you want added to your testimonials element. **
139. Click, hold and drag this icon to change the order of the testimonials.

140. Click on the garbage icon to delete a testimonial from the list.

141. Click this garbage icon to delete the whole testimonial item.

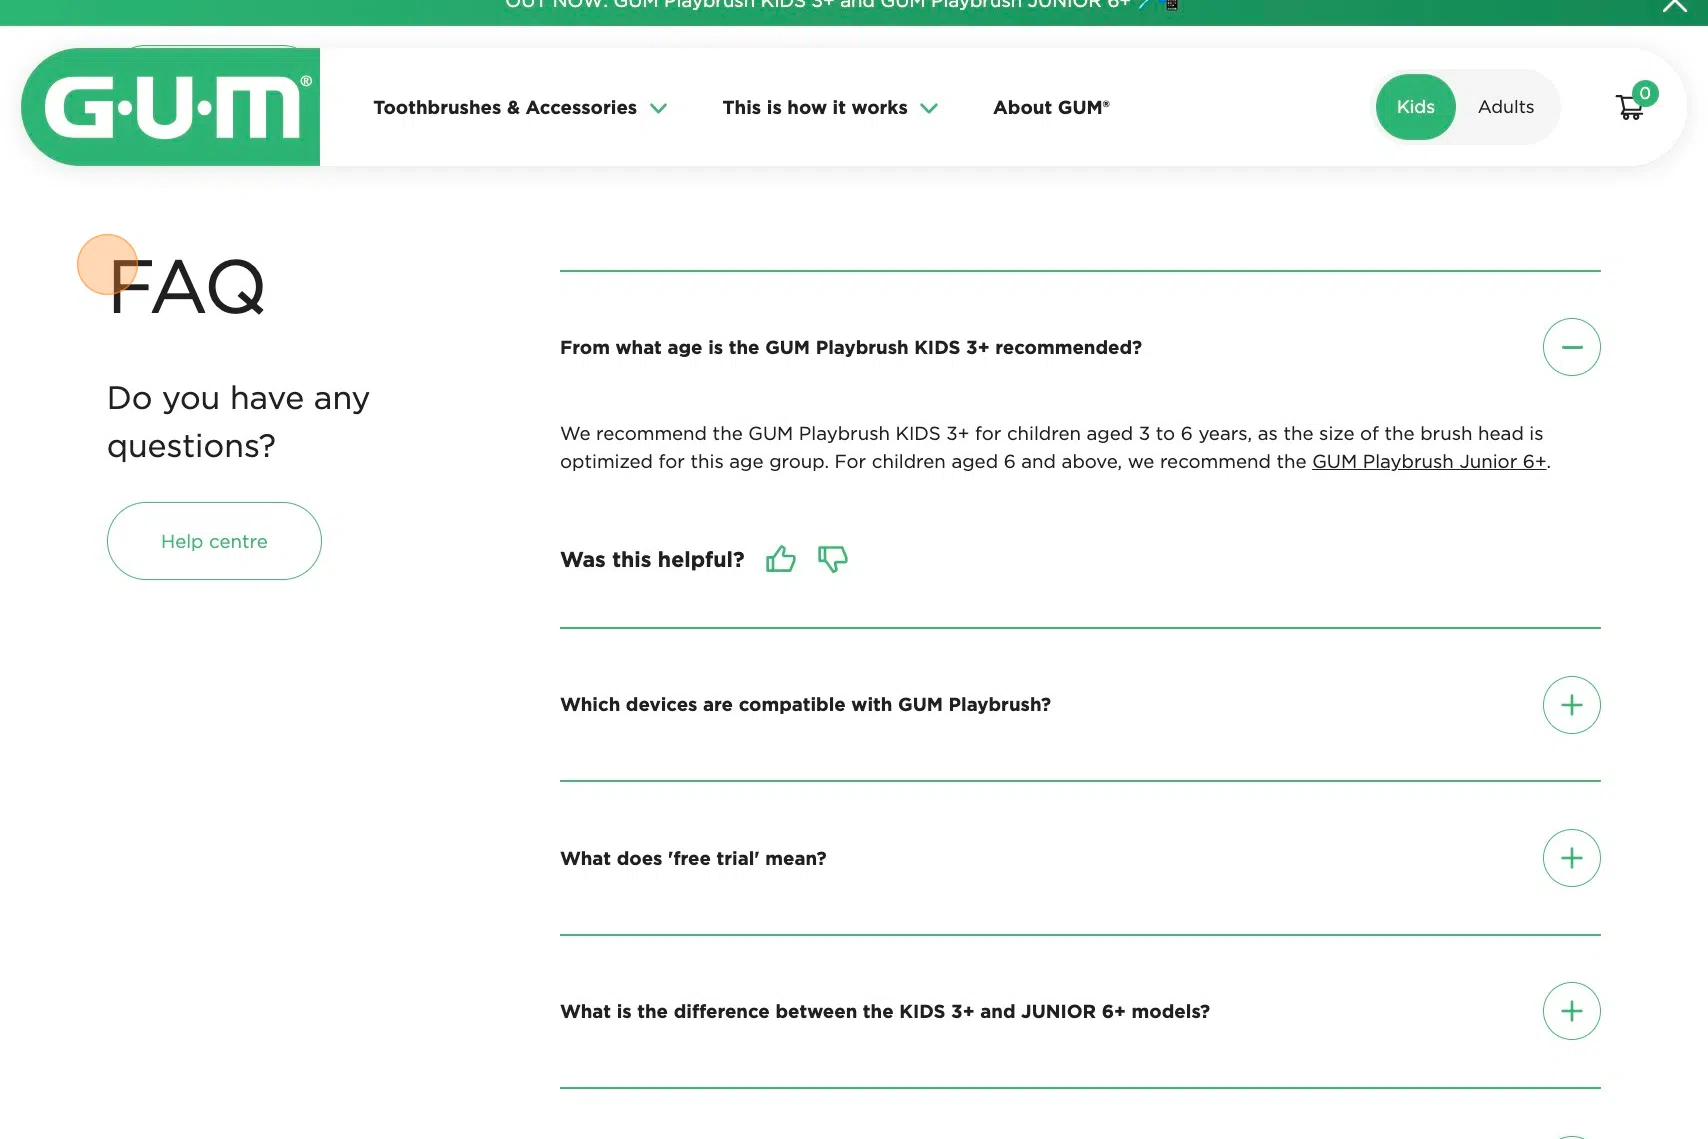
Accordion
142. We’ll be adding an accordion. An accordion typically consists of multiple panels or sections, where each section contains a heading and a collapsible content area. When a user interacts with the heading of a section, it expands or collapses the corresponding content area, allowing them to toggle visibility and focus on specific information.
143. Click “Accordion”

144. Click on “Heading” to add a title to your accordion

145. Click “Description” to add a description to your accordion.

**146. Click “Link” to add a button with which a user can be redirected to somewhere else on the website or outside the website. **

147. Click “What kind of link do you want to insert?”

**148. Click “Link to a Document…” if you want to link to a document on the website. Click “Link to the Web” if you want to redirect to another website. Click “Link to a Media item” if you want to redirect to a Media item. **

149. If you chose to link to a document, click “Type:” to filter the results based on the type of document.

150. Click the “Search…” field to search for a specific document, or scroll through the results. Click on your desired document.

151. Click here to enter the text that will be displayed on the button.

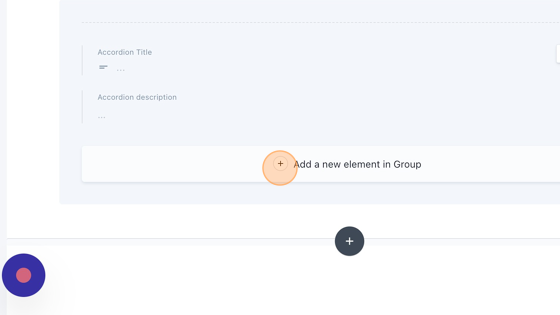
152. Click the “Accordion Title” field to give a title to your accordion item.

**153. Click here to add a description to your accordion item. **

**154. Click on “Add a new element in Group” to add another accordion item. Retake steps 153 and 154. **
**155. Click, hold and drag this icon to change the order of the accordion items. **

156. Click on this garbage icon to remove the accordion item.

Plain text
157. Click “Plain text”

158. Click on this slider to choose between a plain text that takes up the full width of the page or not.

**159. Click “Content” to add your text. **

**160. Click this garbage icon if you want to delete you plain text element. **

Email pop-up
161. Click “Email pop-up”.

162. Click the “delay” field to enter the waiting period until the pop-up shows up. This is in milliseconds.
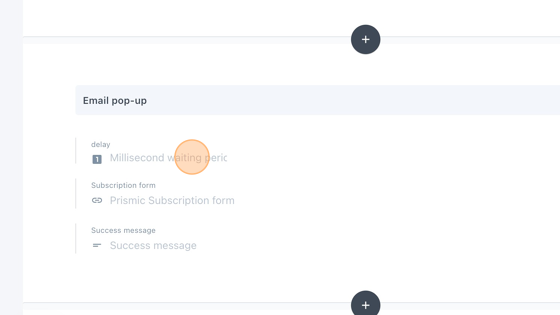
163. Click “Prismic Subscription form”.

**164. Leave the “Type” on “Subscription form” to filter on subscription forms. **

165. Click on the desired subscription form.

166. Click the “Success message” field and enter a message for when the user successfully subscribed.

167. Click on the garbage icon the remove the email pop-up item.
