5. Creating new components
Intro
How to create new (reusable) components
Product
General / Checkout Translations
Testimonial
1. In this guide, we’ll be making a testimonial

2. Click on the pencil to add a new component

3. Type in “testimonial” or scroll down manually to find it in the list.
4. Click “Testimonial”

5. Fill in the quote of the person that you’re quoting.

6. Provide the name or username of the person who wrote the quote.

Comparison Grid
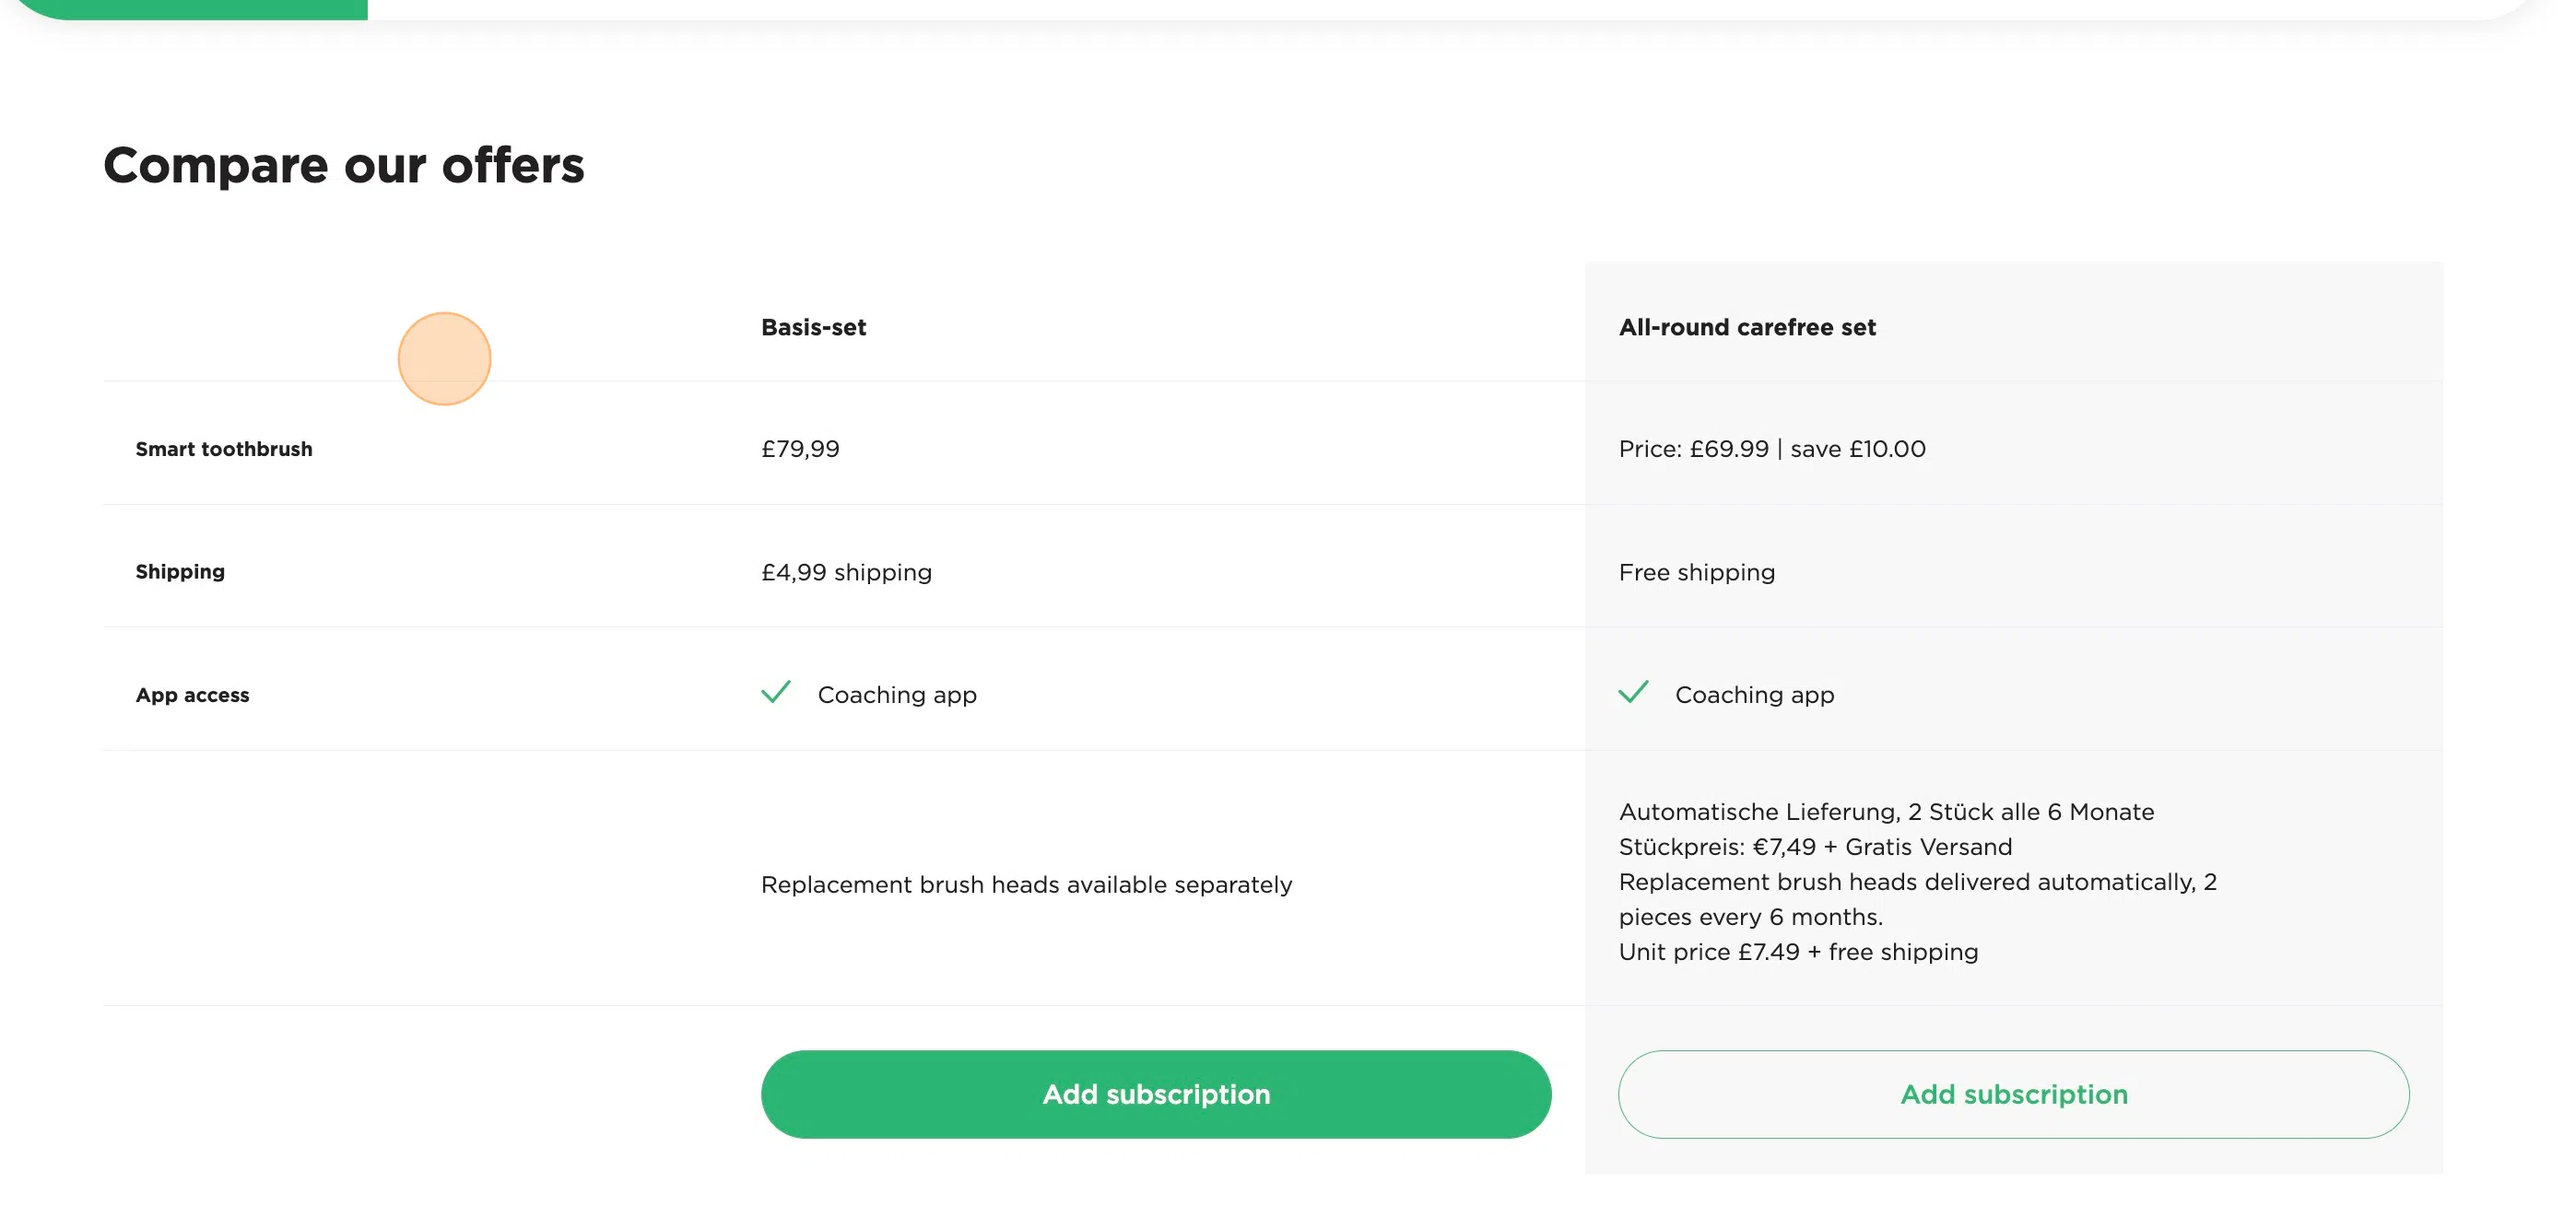
7. In this guide we’ll be making a comparison grid column. Columns can later be added on pages. To see how to do that, please take a look at the Product Page Guide. We’ll be looking at the first column and the last column you see on the image below. The first column will set the rows of the grid.
8. Click this icon to add a new component.

9. Type in “Comparison grid column” or scroll down manually to find it in the list.

10. Set this slider to true if you want the background of the column to be grey.
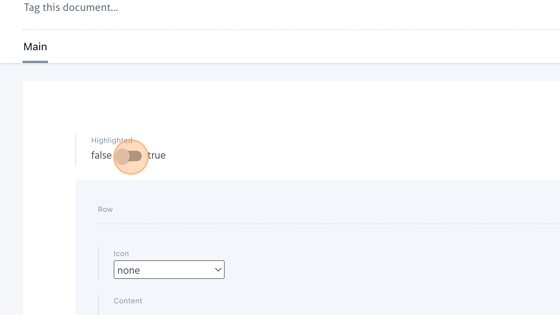
11. This element we see with the “Icon” and “Content” will be the first row of the column. For the most left column, we will leave it empty.

12. Click “Add a new element in Row” to add a new row.

13. Click on “Content” and insert the value of the row.

14. Keep repeating the previous two steps to add the desired amount of rows.
15. Click, hold and drag this icon to change the order of the rows.

16. Click on the garbage icon to delete a row.

17. Now we will take a look at making a column that is not the most left column. There are two things different from the most left column. The first one is that the first item will be the header of the column, which you will fill in. The second thing that is different is that you can make use of icons in front of the content.
18. You can make a cell of the grid have an icon in front of the content. Click on “Icon” “none”.

19. From the list, select “cross” to get an icon of a cross in front of the content.
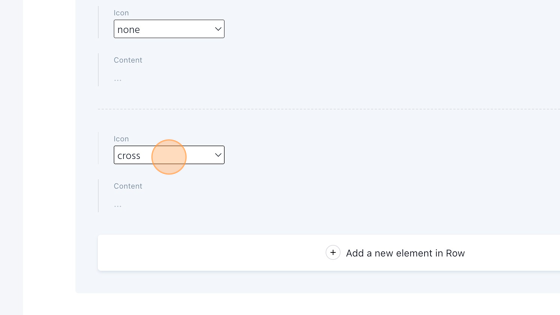
20. From the list, select “check” to get an icon of a check in front of the content.

Mega Menu Item
21. In this guide we’ll be editing and adding Mega Menu Items. Mega Menu Items can be inserted in the Header, for a documentation on how to do that, please see the Header guide.

22. Click on the pencil to add a new component.

23. Type in “Mega menu item” or scroll down manually to find it in the list. Click on it.

24. This block will be the most left part of the mega menu (the first column). Click on “Title” to type in the title that will be displayed in bold on top of the column.

25. Add a description to the column.

26. Click “Select a link” to add a button and link it will redirect the user to.

27. Click “What kind of link do you want to insert?”

28. Click “Link to the Web…” if you want to redirect the user to a url outside of the PlayBrush website.

29. Click the “https://” field and fill in the URL and click on “Link to this page”.

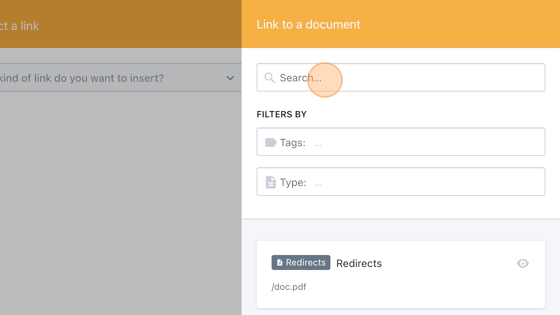
30. If instead you want to redirect the user to a part on the Playbrush website, click “Link to a Document…”

31. Click the “Search…” field to search for a specific document or scroll down to select one.
32. Instead you can also redirect your user to a Media item. Click “Link to a Media item” to do that.

33. Click the “Filter media elements” field to search for a media element or scroll down to find the right one and select it.

34. Or click “Upload media” if you want to upload media from your device.

35. Click the “button text” field to fill in the text that will be displayed on the button.

36. We will now be creating a second column of the mega menu. Click on “Mega menu image” to add an image that will be displayed on top of the column.

37. Repeat steps 13 and 14.
38. Click on “Item title” to set the Title that will be displayed in bold under the image.
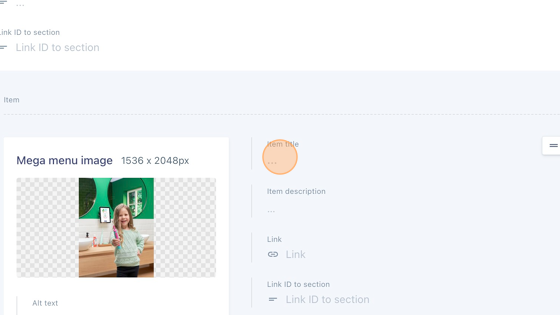
39. Click on the “Item description” to set the description that will be displayed under the title.

40. Click “Link” to select the website/document/media item you want to redirect the user to.

41. Repeat steps 7 untill 14.
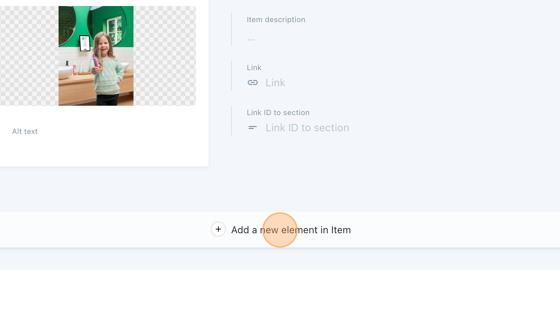
42. Click “Add a new element in Item”
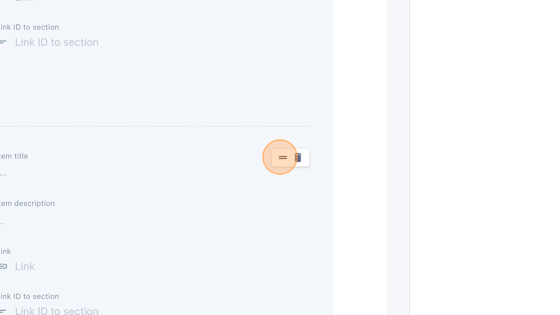
43. Click, hold and drag this icon to change the order of the columns.
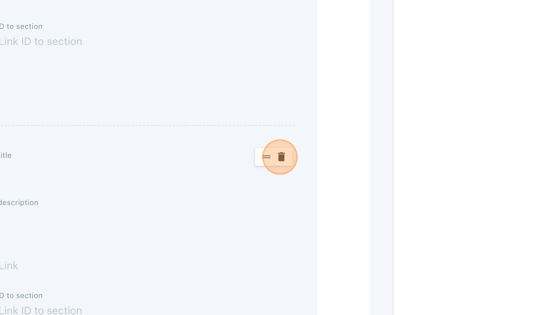
44. Click on the garbage icon to delete a column.
Redirects
45. In this guide we’ll be looking at how to add redirects. Using redirects on a website is often done when the old URL or webpage is no longer available or has changed. A redirect is a way to automatically send users and search engines from the old URL to a new URL, ensuring they reach the intended destination without encountering a broken or non-existent page.
46. Click on the Type button.

47. Click the “Search type” field.

48. Type in “redirects” or manually scroll down to find it in the list and click on it.

49. Click on “Redirects” of type “Redirects”.

50. Let’s add a redirect by clicking on “Add a new element in Redirects”

51. Click the “From” field and fill in the old URL that no longer works.

52. Click the “To” field and fill in the new URL to which you want to redirect the user.

53. Click on the garbage icon to delete a redirect from the list.

Video Grid Item
54. In this guide, we’ll be making a video grid item, a clickable component with text. When clicked, an image will appear on the right side of the grid.

55. Click on the button Create new to add a new component

56. Type in “video grid item” or scroll down manually to find it in the list.
57. Click “Video grid item”

58. Keep this slider on false.

59. Click this icon dropdown to select a icon.

60. Click here to fill in the title for the item.

61. Click here to fill in the description for the item.

62. Click this icon to add an image or a video to the element.

63. You can filter through the media elements.

64. Or scroll down the library to select an item.

65. Or you can choose to upload media from your own device.

Video
66. In this guide, will be uploading and embedding a video.

67. Click on the pencil to add a new component

68. Type in “video” or scroll down manually to find it in the list.
69. Click “Video”

70. You don’t have to add a placeholder image, since the videos will come from YouTube.
71. Click the “YouTube embed url” field to add the embedded code of an iframe containing a YouTube video player. This type of video player allows users to watch videos hosted on YouTube directly on a webpage.

72. Optionally click the “Src” field to add the URL of the source of the video.
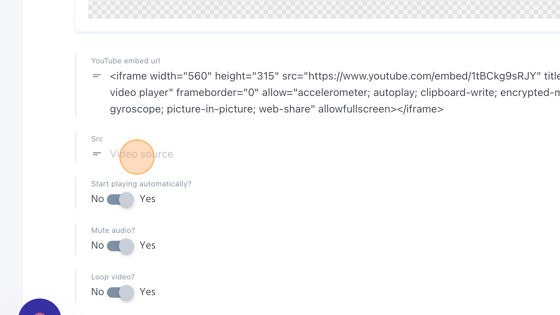
73. Choose if you want the video to start playing automatically or not.

74. Choose if you want to mute the audio or not.

75. Choose if you want the video to loop or not.

76. Choose if you want the video to open in full screen on mobile devices or not.

Footer Link List
**77. In this guide, we’ll be creating a list of links.
Link Lists can be inserted in the Footer, for a documentation on how to do that, please see the Footer guide.**

78. Click on the pencil to add a new component

79. Type in “Link list” or scroll down manually to find it in the list.
80. Click “Link list”

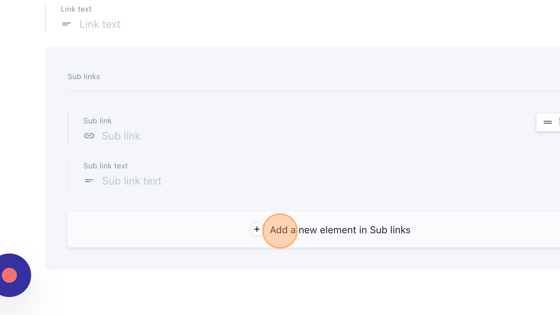
81. Click the “Link text” field and enter a title for the link list.

82. Click “Sub link”.

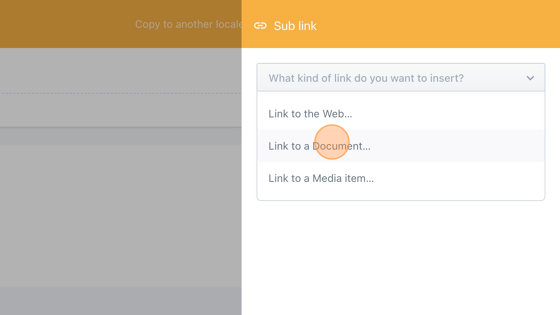
83. Click “What kind of link do you want to insert?”

84. In case you want to link to a document, click “Link to a Document…”
85. Click the “Search…” field to type and search for a specific document.

86. Or you can filter on a tag or type to search for a document. When the document is found, select it.

87. In case you want to link to a website, click “Link to the Web…”

88. Click the “https://” field and insert a url and press on “Link to this page”.

89. In case you want to link to a media item, click “Link to a Media item…”

90. You can filter through the media elements.

91. Or scroll down the library to select an item.

92. Or you can choose to upload media from your own device. By clicking “Upload media”

93. Insert the text that will become clickable in the “Sub link text” field.

94. If you want to create multiple list items, click on “Add a new element in Sub links and start again from step 4.
95. Click, hold and drag this icon to change the order of the links in the list.

96. Click on the garbage icon to delete a list from the list.
